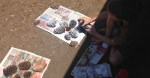
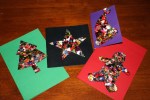
We have done a bubble painting project before for Easter, it is so easy and the results are always cool, so we have tried it again this time just using pink. We also used some pink paper as well as the white, where as last time we just used white paper.

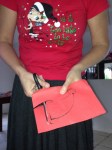
Valentine Door Hanging,
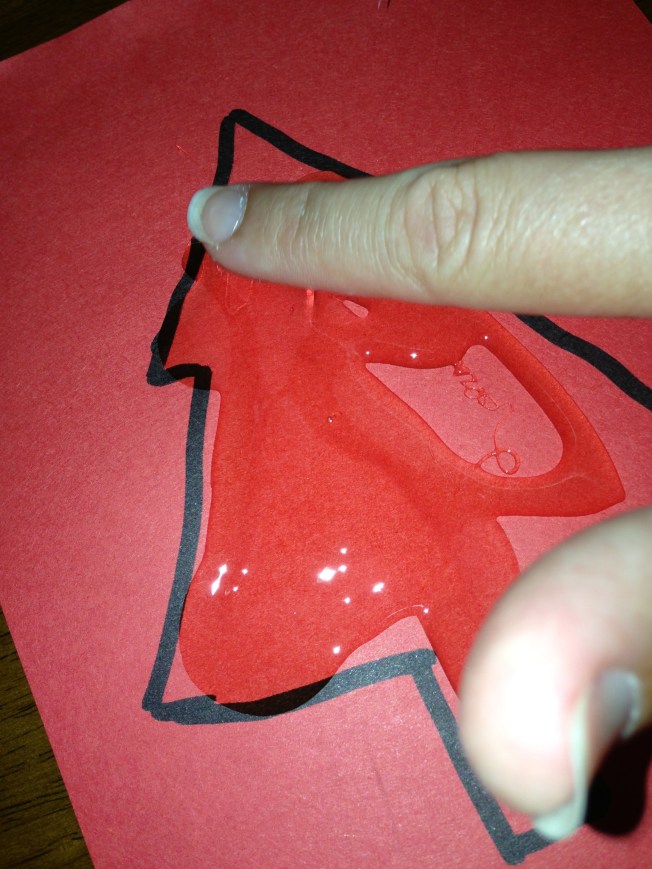
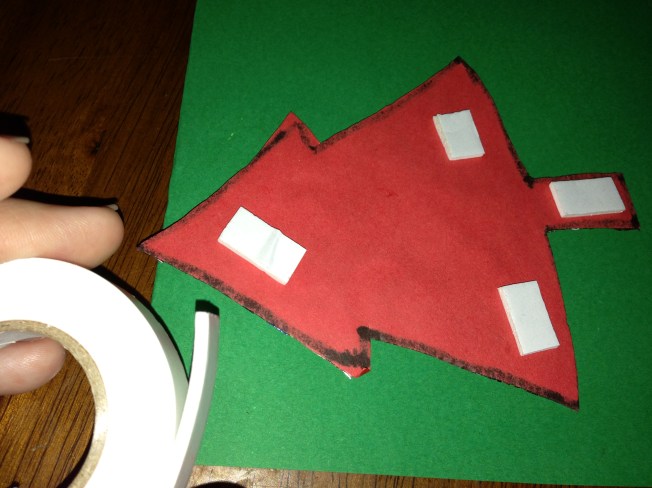
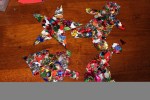
Again I cheated and printed out some heart shapes, rather than drawing them all just so all the sizes were consistent. You could obviously trace around a cookie cutter too, but hey, did I mention I am lazy? I didn’t really measure out the ingredients for the bubble paint, it really was a squeeze of dishwashing liquid, splash of food colouring and a splash of tap water. Then let the kids blow bubbles in the mixture until the bubbles come up over the top of the bowl. Get them to quickly place the paper gently over the bubbles and the patterns will transfer to the paper. Instead of cutting each shape out first this time, we did the painting then cut them out after they were dry. Then it was just a case of attaching them to some gift ribbon with tape. I stuck them to the wall with blue tac.


If you wanted to make these hang in a door way, it would be a good idea to paint both sides of the paper, so they can spin and still look pretty on both sides.