This idea actually came from a Woolworths Fresh Magazine idea, but I have also seen similar things on Pinterest and other blogs. I went slightly over the top compared to theirs – so unlike me.
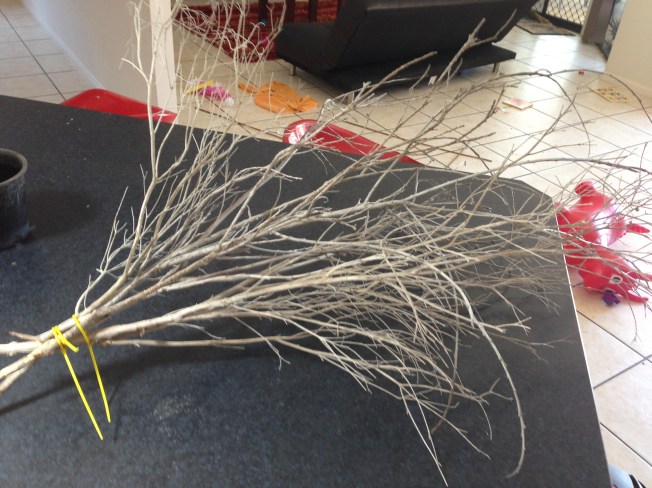
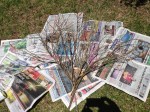
We went for a walk around the local park lands and collected some sticks that I thought would be good for the job.

The branches
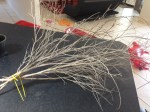
Then I gave them a light spray of white paint.

Spray painting the branches
Left in the sun to dry for a few hours, which resulted in this
The painted branches
The original idea I was looking at used a rusty bucket for the pot, but as I don’t have one of those laying around, I had to come up with something else. I found an empty plastic pot and decided we could work with that.
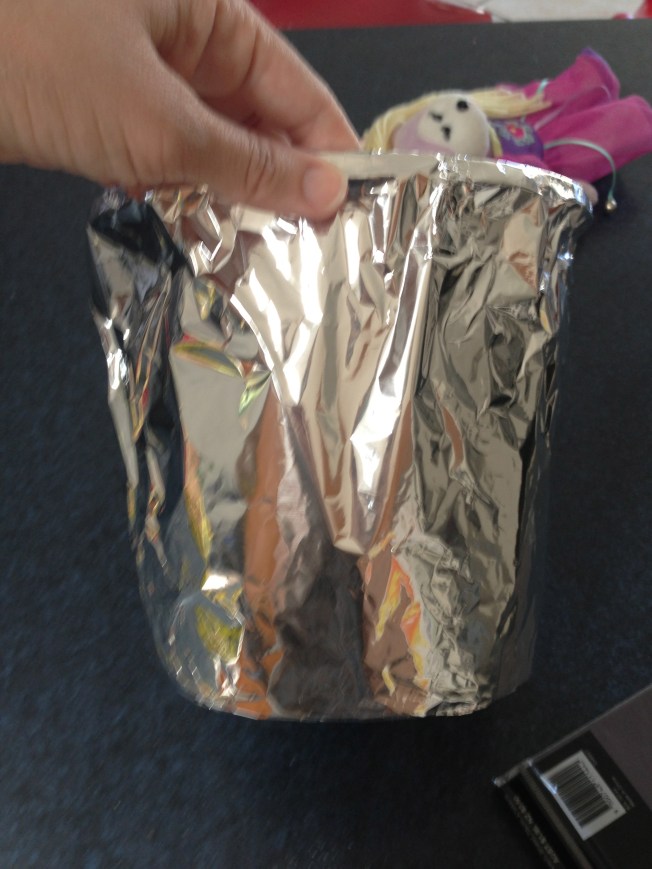
Covering the plastic pot with aluminium foil
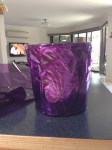
I covered it in a layer of aluminium foil, before a layer of transparent cellophane just to give it a bit more shine.

Then a layer of cellophane to go with your colour theme
Once we were happy with the finish of that, we collected some rocks from the garden to fill the pot and hold the branches into position.

Filled the pot with rocks to secure the branches and to stop it tipping over.
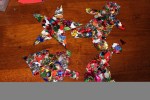
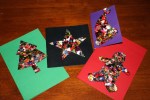
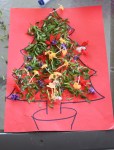
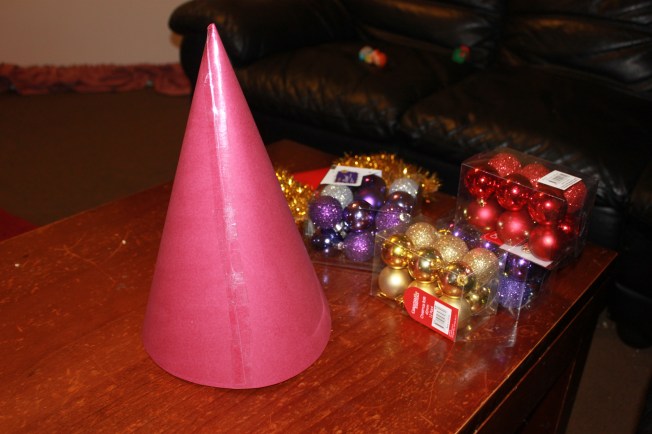
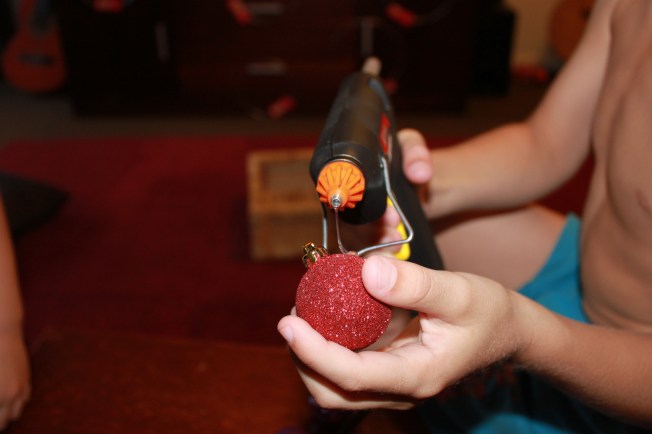
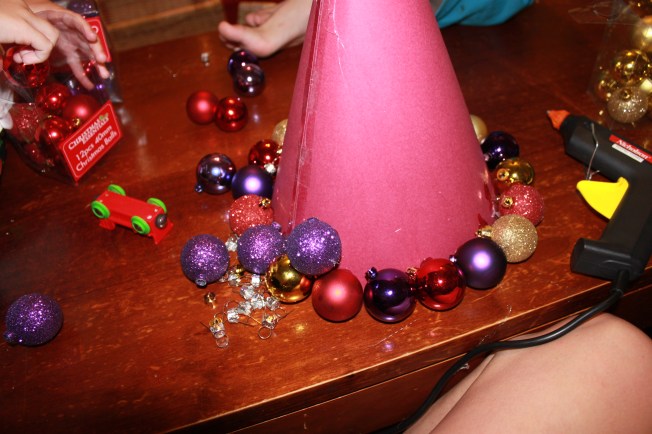
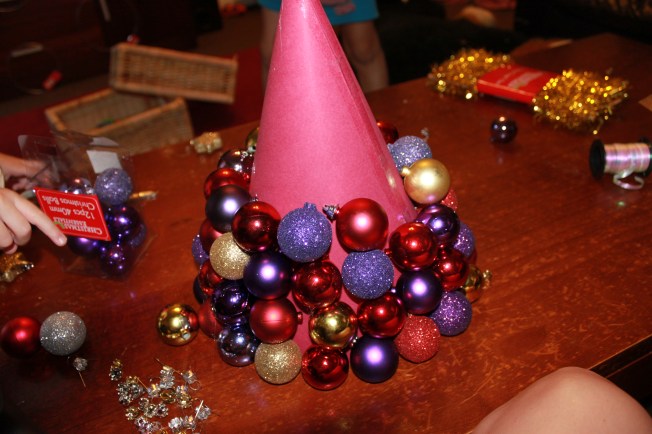
Then it was time to decorate!

Decorating the tree

Outside, to try to catch the sparkle

With LEDs around the base
I am really struggling to get a good photo of this thing, just like the bauble tree, because the camera takes away all the sparkle. It really stands out in real life. I might have to read my camera manual.
This slideshow requires JavaScript.
-
-
The branches
-

-
Spray painting the branches
-
-
The painted branches
-

-
Covering the plastic pot with aluminium foil
-

-
Then a layer of cellophane to go with your colour theme
-
-
The pot
-

-
Filled the pot with rocks to secure the branches and to stop it tipping over.
-

-
Decorating the tree
-
-
Outside, to try to catch the sparkle
-

-
The ‘Tree’
-

-
With LEDs around the base