Tag Archives: Christmas Cards

Simple Christmas Card Ideas, Part 1.

Standard
Simple Christmas Card Ideas, Part 1.

Here’s a simple card decoration idea that doubles up as a fine motor activity.

For all the card projects this year I am using plain black card stock.  They were $2 for a pack of 12 at a $2 shop.

For this project you will need some coloured paper or thin cardboard, craft glue and any decorations you like (we kept it simple with an angel sequin)

Trace out a tree shape on the back of one of the pieces of paper.

IMG_7222

Fold the other coloured paper in half to double it over then bring all 3 pieces together and cut along the outline so you end up with 3 identical shapes.

IMG_7223

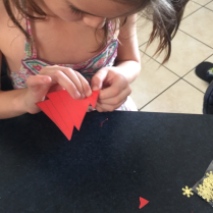
Using a pencil draw some lines across the back of one of the trees.  Then tear carefully along the lines as demonstrated by Ms5

IMG_7225

Cover the other colour tree completely with glue, then stick down every second piece of torn paper.

IMG_7228

Allow to dry and secure to your card stock 🙂

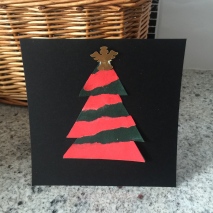
Torn paper christmas tree.

Torn paper christmas tree.

D.I.Y Leaf Print Christmas Cards

Standard
D.I.Y Leaf Print Christmas Cards

Here’s a unique home made card idea that the whole family can get involved in.  All you need is some card stock, paint (brush and roller), sequins or other bling and some tree shaped leaves.  Glitter optional!

leaf print

Coat the leaves in a thick layer of paint, we used white as I thought it would stand out nicely on the black card.  Place the leaf, painted side down, carefully on the card, then roll over it with a clean dry paint roller to press down.  Remove leaf and you should have a pretty leaf print.  If you want to add glitter, do so now while the paint is still wet so it sticks.  If you are creating more than one card, just give the roller a wipe with an old rag between leaves to remove any paint and avoid smudges.  Once dry, let the kids decorate with sequins, we used PVA to attach them – done.

Home Made Christmas Cards – Kids Craft

Standard
Home Made Christmas Cards – Kids Craft

Unlike most of our projects, where I get inspired by Pinterest or something else,  I actually thought this up myself!

IMG_6083

Really easy messy fun for all ages.  Just take some coloured paper and draw some simple Christmas shapes.  If drawing is not your thing, trace around some cookie cutters.

Basic Christmas Shapes

Cover inside the outline with a thick layer of craft glue.  Smear around with a paintbrush or a finger tip if you don’t mind getting sticky.

IMG_0686

Then sprinkle christmas theme sequins randomly over the glued area.  Try to cover the outline as much as possible too.

IMG_0690

When you can’t see much of the paper within the shape, give it a light shake.  Then drizzle some more glue over the top to hold down any loose ones.

IMG_0691

Allow to dry.  We left them for 24 hours.

IMG_0700

Once dry, Use some large sharp scissors, cut around the shape.  If you can’t see the outline on the front, just follow the lines that went through the page as demonstrated above.

IMG_0703

Once the shapes are cut out, we added some double sided mounting tape (commonly used for scrap booking) to give them a slightly more 3D effect on the card, but you could just use standard double sided tape or glue.

IMG_6086

Position on the cards as you please, and there you have it.  Sparkly Christmas cards.  Mini ones of these would also make cute Gift Tags.  Just line the other side with another piece of paper to write on and use a hole punch to make somewhere to secure with ribbon.

IMG_6089

This slideshow requires JavaScript.

Christmas Cards, Kids Craft

Standard
Christmas Cards, Kids Craft

IMG_6081I couldn’t get my hand on any decent glitter paint pens to finish these, so this is just part one of the process.

 To make these decorated cards, all you need is a hot glue gun, strips of wrapping paper, card and either some large buttons or as we used, some plastic jewels.

IMG_0668

Cut strips of Christmas paper, approximately 3 – 4 cm wide and 30 – 40cm long.   Fold back and forth to create a zig zag, approximately 1cm wide.  As demonstrated by Mr 7 below.

IMG_0669

Once folded the whole way to the end, glue both ends together.  You can get the kids to do this with craft glue, but I chose to use the glue gun as it dries so much quicker.

IMG_0671

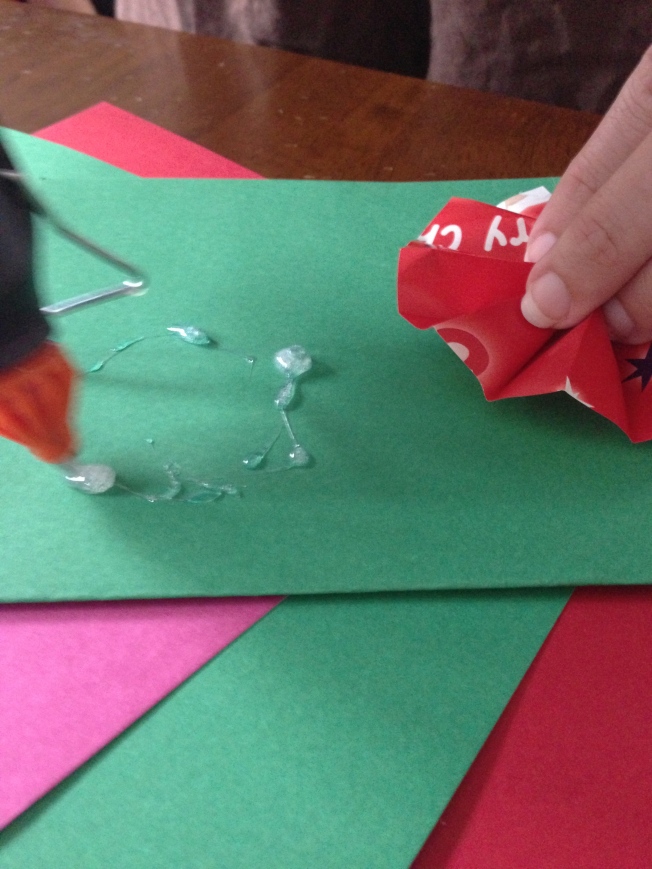
Once the glue has dried, put a circle of hot glue onto the card where you want to place your decoration

IMG_0674

Carefully turn the paper in at one side and out on the other, to create a flower type shape.  Trying not to let it all go at the same time as you can see on the right above.  The first one is the hardest!

IMG_0683

Then cover the back of your jewel of button with hot glue and place in the centre.   Repeat until you have as many decorations on each card as you like.  You can experiment with different thicknesses of paper to create bigger and smaller ones.

IMG_0695