Tag Archives: birds

DIY Guinea pig hide

Standard

We now have puppy pens for the boy and girl cages so the GPs have a huge grass run during the day. Creating shade is the new problem though. They love boxes on their side or with doors cut in them but any moisture and they are ruined. Pet shops sell tunnels like this made from soft pine, but at around $45 each and when you need several, I decided to have a crack at making our own. It was just as easy as I expected. For the next ones I will make them longer and not at tall. But definitely happy with the result so far.

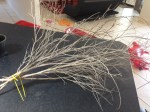
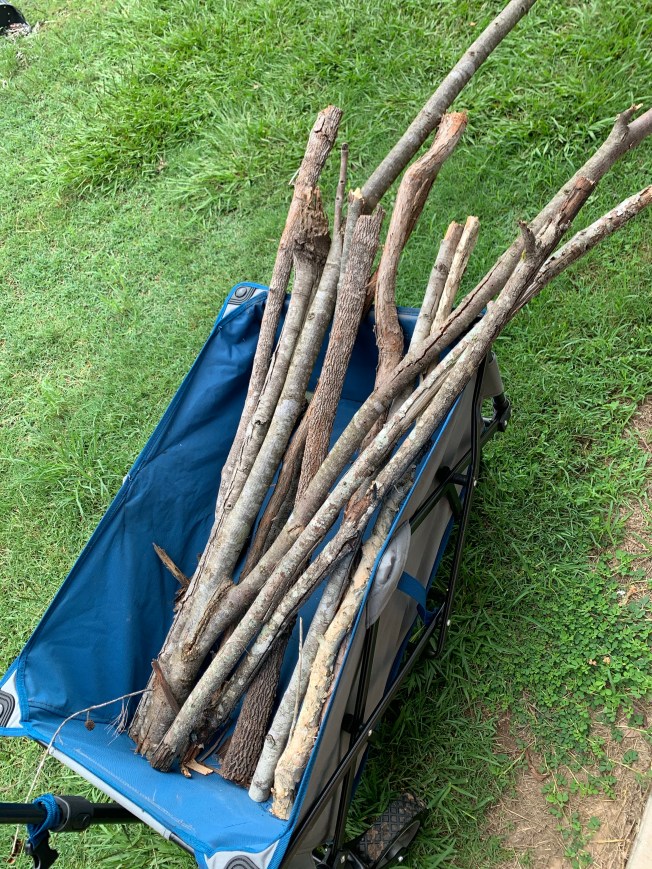
We used branches collected from around the property, choosing the straightest ones we could find.

I then used a drop saw to cut them to roughly 40cm long. I then marked out lines on the workbench to use as guides for the drilled holes.

Then it was just a case of threading them onto some strong wire. Which the ever-so-helpful dogs wanted to join in on.

One all pieces were pushed down as tightly as possible I cut the wire and bent it into a small loop to stop them sliding off. Then just bend into shape. Easy as that.

Owl Family Craft Project

Standard
Owl Family Craft Project

To be honest, craft is the last thing I was in the mood for this weekend. After some tragic news on Saturday morning, the tone of what was planned to be a fun 3 day weekend, soon turned into a very sombre one indeed.  All I really wanted to do was hug my pillow and cry.  But my children don’t really understand grief, so after 24 hours of my moping around, they were climbing the walls.  I was inspired by this project from an activity I saw at school a few weeks ago, of individual owls as they related to the letter O (letter of the week).  I thought a little owl family with the kids prints would look very cute.

The concept is quite simple like most of my projects, and as you can see in the photos below, so I wont go into too much detail.  I let the kids choose from my scrapbooking paper a pattern they liked, but you could just as easily use plain colours.  The background is just 2 school scrap books centre pages sticky taped together, then washed with blue water colour as demonstrated by Mr 8.  Once dry, I ironed the paper to make it flat again.  I drew the owl body and Mr 8 and I cut them out.  The eyes were traced from a circular cookie cutter and cut out.  The black dots made with a hole punch.  I just drew one foot, then used it as a stencil for the rest of the feet, so they are all similar.

The kids then chose their wing colour.  I placed the body on the background and had the children do their hand prints one at a time, starting in the middle.  This way I didn’t have to worry too much about working out the spacing. Once they were all done, I sketched in a branch and Mr 8 painted it in. Then it was just a case of glueing eyes, pupils, beaks and feet.  We added some leaves cut out from green paper to the branch and there you have it.  A little owl family hand print keepsake.

Materials:

Paper, Scissors, hole punch, water colour, coloured card and paper, glue stick, craft paint.

If you have got this far, thank you for reading, I hope you enjoyed the post and it inspires you to do something just as fun and rewarding with your young family.  But if I can just ask one small thing of you, next time the opportunity arises, please donate to childhood cancer research in your country.  Currently only 5% of research funds go towards childhood cancer research, so please pinpoint your donations to this very important cause. This beast needs to be stopped.

Easter Craft, Cute Little Chicks.

Standard
Easter Craft, Cute Little Chicks.

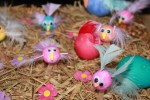
Another very wet weekend has resulted in craft overload in this house.  Today we made some little chickens.  We will call them Easter Chicks, but they could really just be birds and would still be just as cute!  All we used was some small styrofoam balls, paint, google eyes a pack of feathers and a few different glues and double sided tape.  Oh, and some of those pre stuck felt shapes.  First we put the balls on a skewer to hold them up to paint.  The paint, like everything at the moment, took forever to dry, even under the ceiling fan.  Then we added the eyes and beaks.  It was a bit of trial and error with the glue, as some glue dissolves the styrofoam.  But we got there eventually, with some scrap booking glue.

Glue on eyes.

Glue on eyes.


For the beak, we just cut off petals from a foam flower sticker (which you will see further on).  We used several different methods to make the wings.  For thicker wings I folded over a feather from the centre, and secured both sides together with some double sided tape.  This worked well, but was a lot of fiddling around and you could see the tape through some, which I was not happy with.  Others I just cut away one side of the feather, to make it more a wing shape.  Then for the crazy birds I just stick the feathers straight in the side, to make them look like they were running.  Way cute!  Twisted some pipe cleaners to make legs and we were done.

IMG_6565


Ms 4 wanted to make a nest for them, so I grabbed some sugar cane mulch and let her build one outside, she then sprinkled a few flowers around which I thought was a great idea, so told her to get more.

IMG_6595


The coloured eggs are from another project we did this weekend, I will post more on them tomorrow.  They finished it off nicely though I think.


Not your every day tree – Christmas Craft

Standard
Not your every day tree – Christmas Craft

This idea actually came from a Woolworths Fresh Magazine idea, but I have also seen similar things on Pinterest and other blogs.   I went slightly over the top compared to theirs – so unlike me.

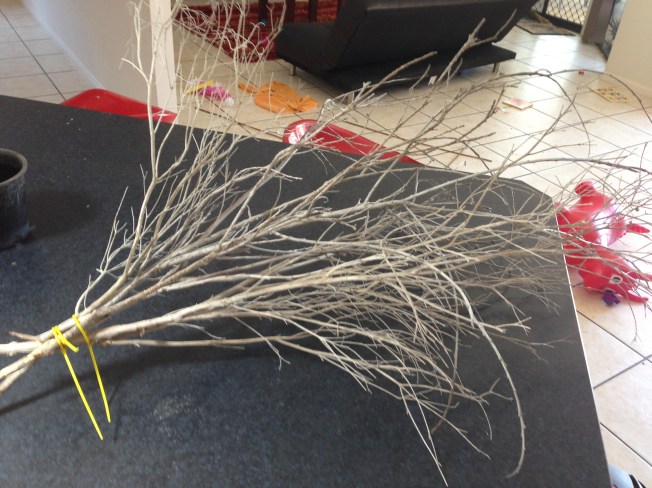
We went for a walk around the local park lands and collected some sticks that I thought would be good for the job.

The branches

The branches

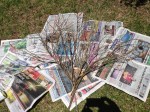
Then I gave them a light spray of white paint.

Spray painting the branches

Spray painting the branches

Left in the sun to dry for a few hours, which resulted in this

The painted branches

The painted branches

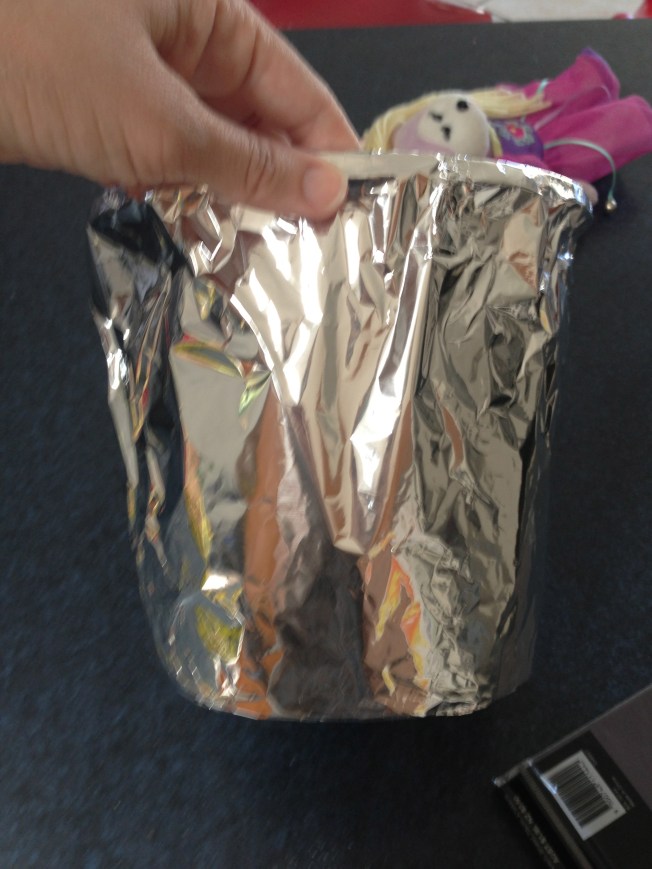
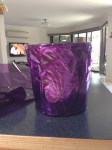
The original idea I was looking at used a rusty bucket for the pot, but as I don’t have one of those laying around, I had to come up with something else.  I found an empty plastic pot and decided we could work with that.

Covering the plastic pot with aluminium foil

Covering the plastic pot with aluminium foil

I covered it in a layer of aluminium foil, before a layer of transparent cellophane just to give it a bit more shine.

Then a layer of cellophane to go with your colour theme

Then a layer of cellophane to go with your colour theme

Once we were happy with the finish of that, we collected some rocks from the garden to fill the pot and hold the branches into position.

Filled the pot with rocks to secure the branches and to stop it tipping over.

Filled the pot with rocks to secure the branches and to stop it tipping over.

Then it was time to decorate!

Decorating the tree

Decorating the tree

Outside, to try to catch the sparkle

Outside, to try to catch the sparkle

With LEDs around the base

With LEDs around the base

I am really struggling to get a good photo of this thing, just like the bauble tree, because the camera takes away all the sparkle.  It really stands out in real life. I might have to read my camera manual.

This slideshow requires JavaScript.

Easy Toddler Craft – Leaf Animals.

Standard
Easy Toddler Craft – Leaf Animals.

Inspired by ABC Play School.  Today we made leaf animal pictures.  It was super easy with minimal mess.

Cutting the leaves for the project

Layla cuts some leaves off our pot plant

DD3 cuts some leaves from our garden.

Leaf pictures

What you need.

What you will need;  Some coloured paper, leaves, marker pens, craft glue and scissors (craft eyes optional)

Leaf pictures

Draw some simple animals to add the leaves too, like this bird.

Draw the outline of some simple shapes on the paper using your makers.

Toddler leaf pictures

Glue on the best shaped leaf for the job!

Start gluing on the leaves that best suit the picture.

Toddler leaf craft

We used the same leaf configuration each time to finish off this bird.

We used the tips of a China doll branch to create this picture.

Toddler leaf craft

Adding the finishing touches.

Adding some boggle eyes, because every kids loves those (ok, and maybe I do too)

Toddler craft leaf bird

One of my favourites

Some of the finished products

The finished products

The finished masterpieces, drying on a flat surface.

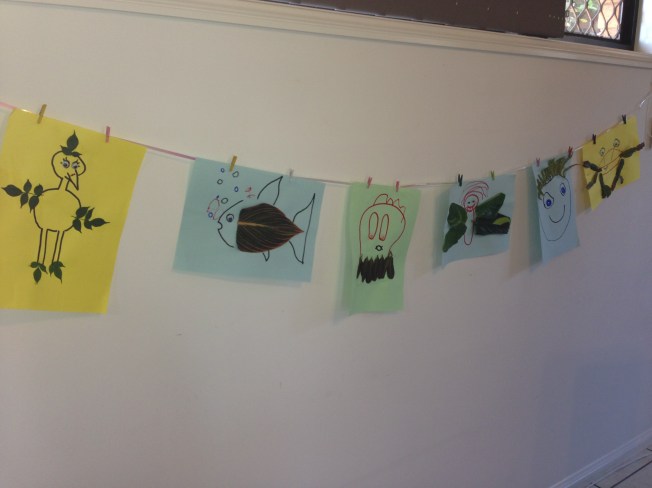
Hanging toddler craft

All dried and ready for display.

All dry and ready to display.

This slideshow requires JavaScript.

Spring goodness!

Standard
Spring goodness!

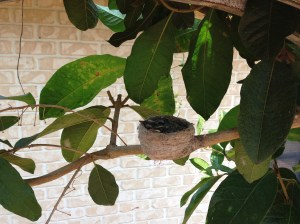
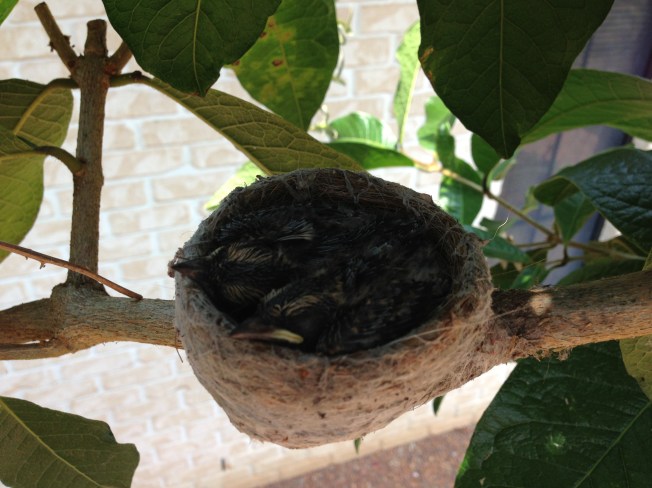
I LOVE SPRING!  Sorry to yell at you all, but seriously?  Best season of the year.   Check out what I found at mums today – a Willie Wagtail  has made a nest in the most picture perfect position.  Like something out of a fairy scene.

Can you see it?


*Updated, the eggs have now hatched.


The hatchlings

The hatchlings.


around 2 weeks

around 2 weeks


2 weeks close up

close up.