Category Archives: Sun Catchers/Wind Chimes

Rustic Clay Wind Chime

Standard
Rustic Clay Wind Chime

It has been entirely too long between entries.  Life gets like that though I guess. I actually made this wind chime back in May, but have not had a chance to blog about it. Pretty sad when you can’t find a spare half hour in 7 months… but hopefully I will make up for that over the next 3 weeks while my schedule is not so hectic.

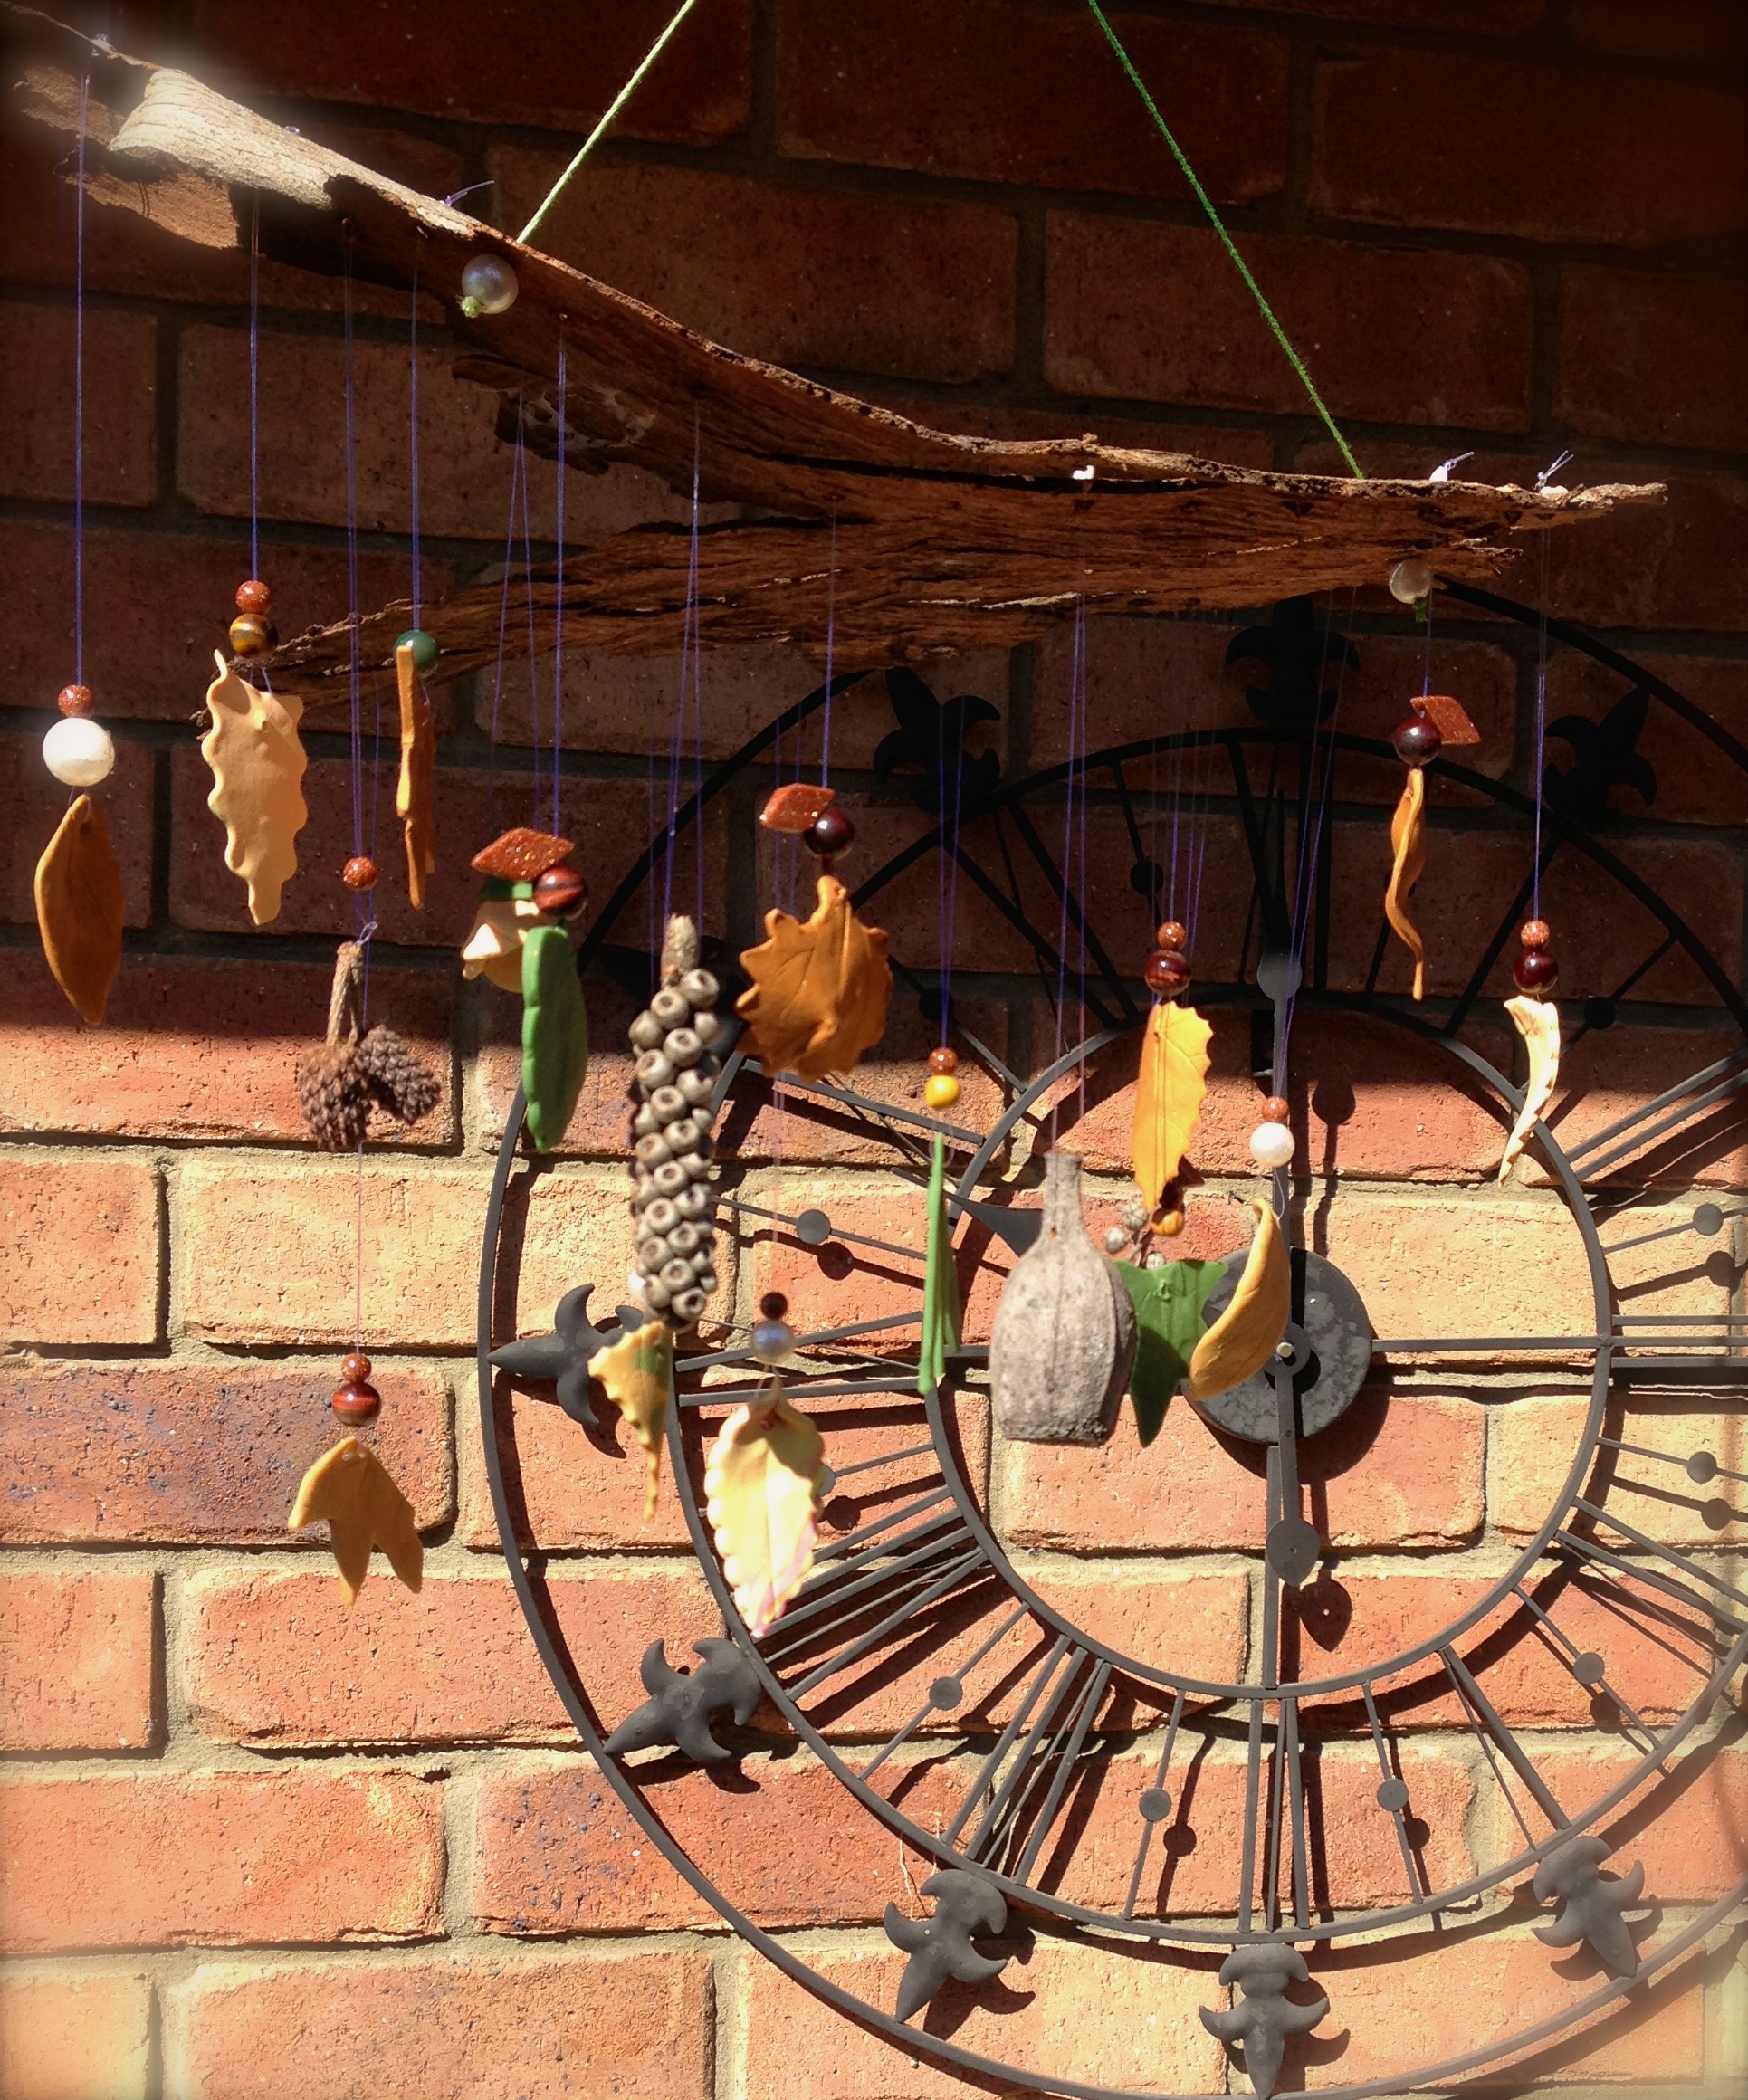
I am really happy with the way this project turned out, but it may not be something everyone can make at home, as you will need access to a kiln for the baking of the clay.  I am lucky enough to have that access 🙂  The discs were made from potters clay, available from any good craft shop, about $30 for 10kg (it’s really heavy when wet!). I rolled some clay out to around 5mm thick, then cut the circles out using a metal egg ring.  I then used a variety of leaves and flowers from around the garden, laid them over the clay and rolled over gently with a rolling pin, just enough to create the patterns as you can see.

Clay craft

Clay circles with leaf and flower prints.

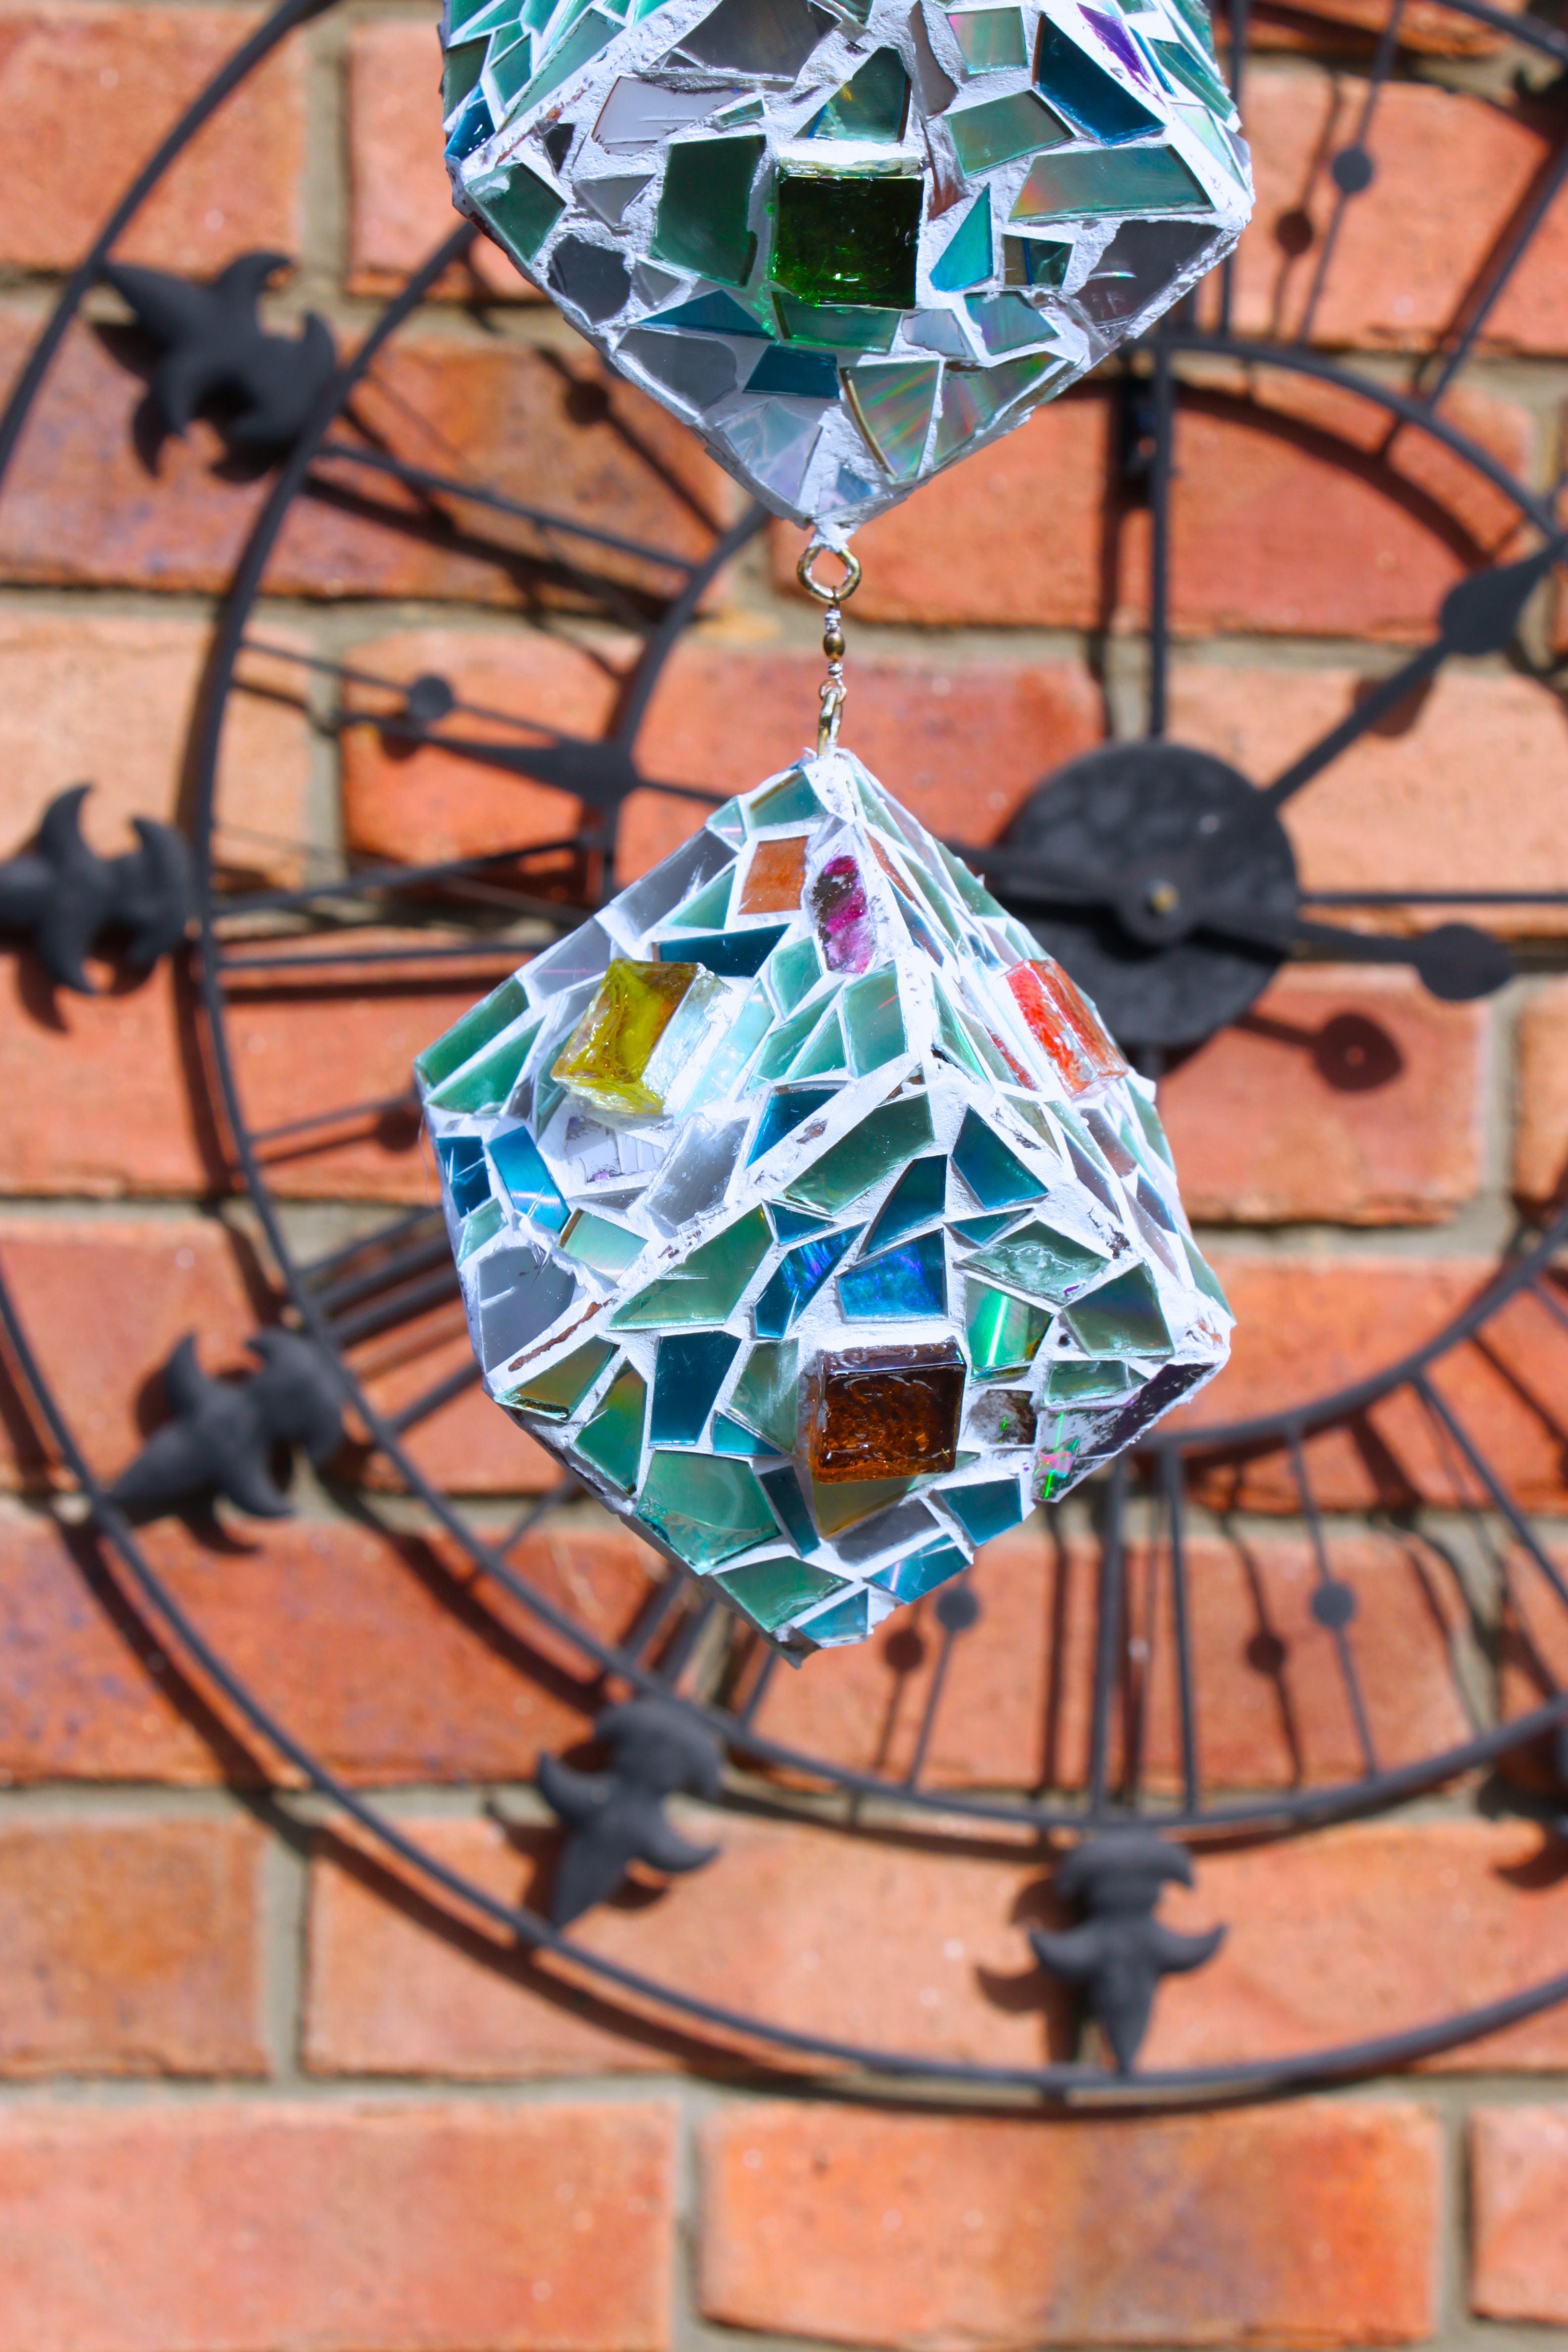
Once baked and cooled, it was time for assembly.  Mr 5 and Miss 6 were happy to help decorate the pieces of fishing line with some chunky transparent glass beads I had in my bead stash.

Threading beads

Threading the beads on fishing line before assembly

We then went on a hunt for the perfect stick, attached it to a chair and began assembly.  I wanted the discs to taper down, so this was not something the kids could help with.
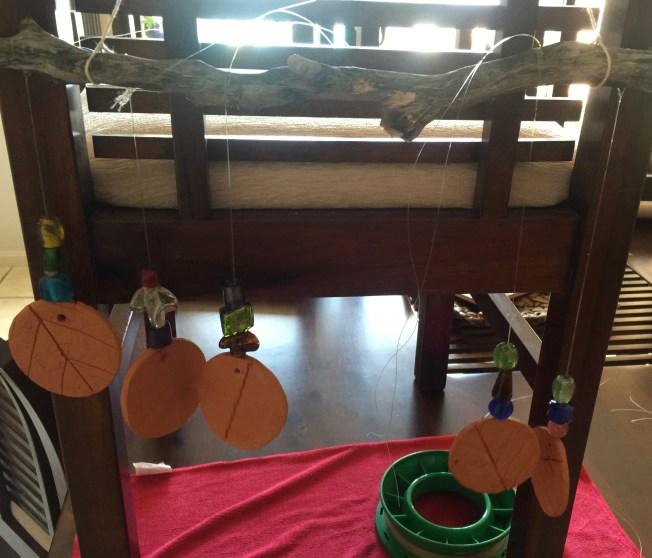
Assembly of wind chime

Assembling

Once I was happy with the positioning of each string, I tied them in a few more knots and decorated the top hanging twine.  Cut off any loose ends and it’s done.  As simple as that.

IMG_8881

Each disc touches the next ever so slightly, making a lovely sound in the breeze, without being too noisy.

IMG_8873


Kids Craft, Easter Egg Sun Catcher / Stained Glass

Standard
Kids Craft, Easter Egg Sun Catcher / Stained Glass

Inspiration for this project came from Alpha Moms blog. I thought I’d adjust it into an Easter themed project, given it is already that time of year.

All you need is some of the whitish milk or juice cartons.  We actually used a cordial bottle for the grass.  The stickers on the milk bottle where quite hard to remove and left a sticky residue.  I managed to remove this with some mineral turpentine.

Once you have your clean pieces of plastic, draw or as we did, trace your shapes using a black permanent marker (Sharpie etc).  Then let the kids colour as desired.  Once coloured, cut away the extra plastic and you’re done!  They turned out even better than expected.

20140406-170035.jpg


We attached ours to the windows using double sided tape rather than suction cups.


Easy Sun Catcher, Kids Craft

Standard
Easy Sun Catcher, Kids Craft

Everyone loves a sun catcher – well according to Pinterest they do! This is basically the same concept as the Valentine Hearts  we did a few weeks back, but instead of random shapes, we used a punch to make stars and circles etc from the cellophane. Once laminated, we cut out smaller shapes and hung them from a branch with some beads.

suncatch

This is yet another almost impossible thing to photograph, it looks so much more bright and colourful in real life. I don’t know why I keep doing this to myself, or maybe I just need to do a photography coarse, or even read the instructions for my DSLR…

Kids Valentine Craft – Stained Glass Hearts

Standard
Kids Valentine Craft – Stained Glass Hearts

I was determine to do some Valentine craft today with the kids before we ran out of time.  I had an idea in my head of what I wanted to do, but we couldn’t find the type of paper I needed.  While picking up some other bits and pieces from the grocery store, we found A4 laminate sheets on special and decided to grab some for the craft cupboard. I had a look around Pinterest for inspiration and then it finally came to me, lucky we grabbed those sheets!
IMG_4565

The steps are pretty self explanatory I think, but you can see more instructions by clicking on or running your mouse over each photo below.

The similar projects I have seen on Pinterest use clear book contact, which you could also use if you don’t have a laminating machine.  The laminate sleeves give a much clearer finish though.  I was worried at first that the cellophane might melt as it went through the heat, but it was fine.

glasshearts

DIY Wind Chime, Candelabra/Sun Catcher.

Standard
DIY Wind Chime, Candelabra/Sun Catcher.

I dragged the kids to the $2 shop to stock up on some supplies for other projects, and came across these cute little glass bottles.  I had to have them.  And I had to use them right now!  So much for Halloween craft this week! lol.

IMG_3485

I didn’t have a small enough pre made wreath wring to use as the frame, so I just used some gardening wire and platted it loosely along with a piece of twine.  I like the rough look it gave and thought it fit well with the theme.  The little glass balls were another score from the junk shop, they are actually part of a floating candle set, but I had bigger ideas.  I love those old glass buoys as decorations so I figured these could be made into mini ones.  I slightly filled the little jars with some crushed crystal beads I bought off eBay years ago, just to add some colour, then tied them all up.  Originally I was going to position each one, stepping them down as I went, but as they were all different heights and widths, it just didn’t give a worthwhile effect.  So I just tied them randomly, but so they would still hit each other to make a noise in the wind.   The candle holder in the middle was a last minute decision, I just thought it was missing something, and that finished it off perfectly.  To be honest, I wouldn’t leave the candle lit unattended, as those strings are flammable, maybe a battery operated tea-light would be a better idea.


Anyway, I am pretty happy with it.  I think I will do it again, after I collect some larger bottles to hold more candles.  Create something a little different again, and probably use wire to hang them next time.

IMG_8043

The finished product

The finished product

If you would like to see more craft and DIY projects like this one, please follow my blog and Pinterest.


Autumn Theme Mobile, Using Oven Bake Clay

Standard
Autumn Theme Mobile, Using Oven Bake Clay

I have had this idea in my head for a while, but wasn’t sure what medium to use.  This product is really fun and easy to work with, however, it sets more like a hard rubber than a ceramic clay, so it did not achieve the wind chime noise I had in mind.  Oh well, its still pretty!


Nature theme mobile / sun catcher.

Nature theme mobile / sun catcher.

Upcycled CDs. Sun Catcher.

Standard
Upcycled CDs. Sun Catcher.

We were having a clean out of old computer stuff and were about to throw away a pile of old discs, but I decided those shinny little things must be good for something else?  So after a bit of thinking, I came up with yet another sun catcher idea.  Anyone would think I like sparkly things?  It took me ages to work out what to cover, a sphere didn’t seem practical as the CD pieces are flat obviously, so after some uhmming and arrring, I decided wooden cubes were the best solution.  The lovely man at the local hardware was kind enough to give me some 3″ x 3″ off cuts for free.  The rest of the instructions are on the pictures.  I just used clear drying craft glue to attach the CD chips to the wood and the grout is standard bathroom tile grout mixed according to instructions, available from any hardware (we had some left over from the laundry renovation).

Recycled DVD / CD Sun catcher

Recycled DVD / CD Sun catcher

Sun Catcher.  CD / DVD

Sun Catcher. CD / DVD


CDsuncatcher

DIY Sun catcher/Wind chime.

Standard
DIY Sun catcher/Wind chime.

This project was inspired by another bloggers post, which I can’t find again on Pinterest, so will have to edit it back in later when I can find it.  Anyway, I ended up doing something completely different to hers, because I couldn’t get my hands on the right kind of cups.  The original mobile was created with plastic (recycling number 6) disposable drinking cups.  I hunted high and low however, the only ones of them here were solid colours, so I had to settle for these shot glasses.  The shot glasses are a lot thicker though, so the entire method required adjusting.  As you can see in the gallery images, melting these at a low heat basically make little plastic globs that would only be good for playing jacks with.   Eventually I worked out that by turning the heat up enough, I could get them to melt flat.  However, they did emit a nasty smell at this temp, so I took the project out to the BBQ.  

Adding the next colour

Adding the next colour

After melting the first cups, I added another cup, so there was enough plastic to cover the base of each muffin hole.  I was not too worried about thickness, some ended up with 3 cups, I broke a few cups up to splash some other colour around.  The BBQ was set to 220C with the lid down.   After cooling, this is what you get; 

The finished disks

The finished disks


They actually set really hard and when clicked together sound like glass rather than plastic.  Makes them perfect for a wind chime.  Just like with my previous sun catcher, I drilled holes in the sides of each piece using a normal drill bit.  None of them broke this time, which was an extra win.  Then we threaded some fishing line through, held each end together and threaded random shiny and transparent beads along the 2 lines. Admittedly I do have a ridiculously huge stash of beads and stones accumulated from over the years, but you can pick up cheap beads at $2 shops that will still make the project inexpensive if you were starting from scratch.  The first line was 11cm, then I continued along making each one 1cm longer, there is 17 in total.  My darling partner tied them on to the pre made metal loop (from spotlight – and much to his disappointment, he is not a crafty person).  Once they were all tied on, I just slid them around until they were spaced evenly.  And done! 

Close up

Close up


** Please note, breathing in the fumes from melting plastic is probably not a very good idea.  So if you do try this at home, try to use the BBQ or make sure the room is well ventilated, and preferably don’t be near the oven while its all happening.  It not like burning tyres or anything, but it sure doesn’t smell like something you should be breathing in!