Monthly Archives: November 2012

Christmas Gift idea – Teachers gifts.

Standard
Christmas Gift idea – Teachers gifts.

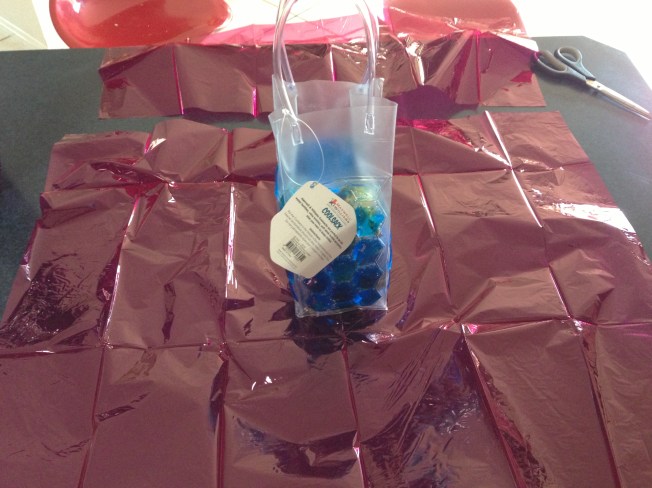
As it turns out, on of my sons teachers does not drink alcohol, so my fall back gift of a nice bottle of wine or spirits at the end of the year was ruined.   Buying an actual gift for someone you know very little about, have never seen inside of their house to understand their taste, I find really really hard.   I stumbled across these nifty little things at House

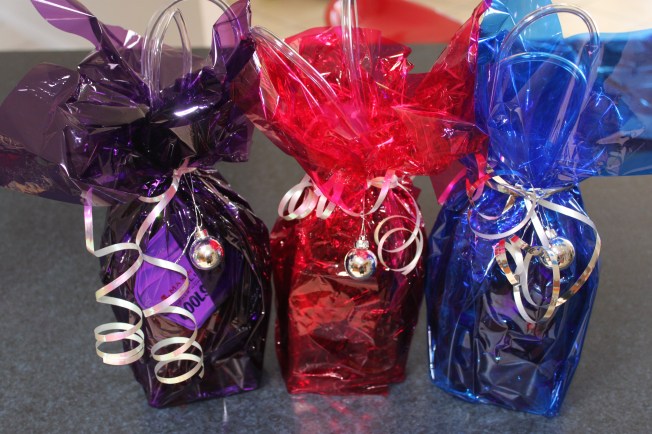
I grabbed 3 different colours as my eldest son has 2 teachers.  Woolworths just happened to have Cadbury Favourites  and Lindt Lindors half price!  So I stocked up on those and away we went.


We filled them almost to the top with chocolates, then wrapped in cellophane


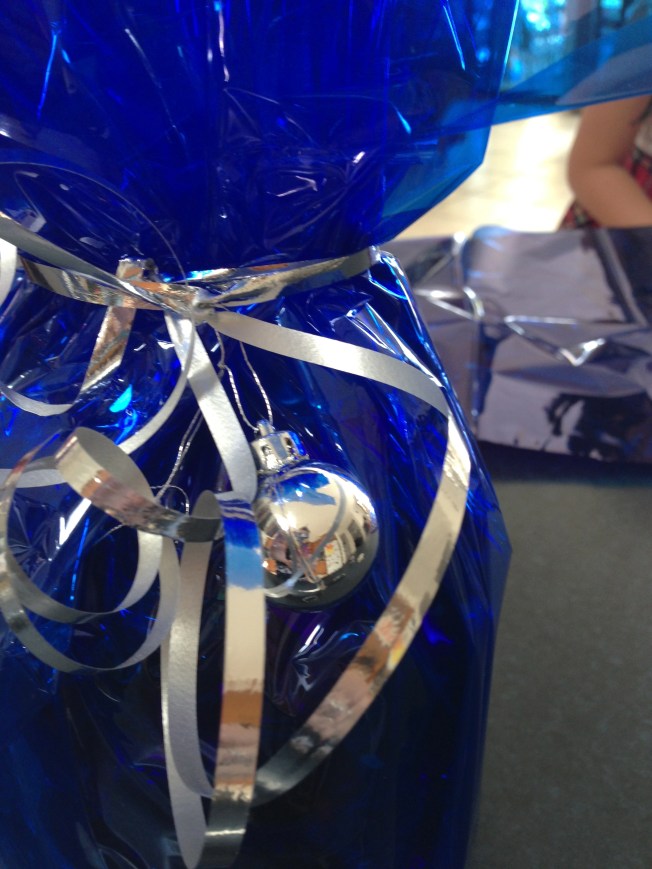
finished off with some ribbon and a bauble.

Then my son comes home and informs me that she doesn’t eat chocolate either…   So we are back to square one for her!

Christmas Craft – DIY Bauble Tree

Standard
Christmas Craft – DIY Bauble Tree

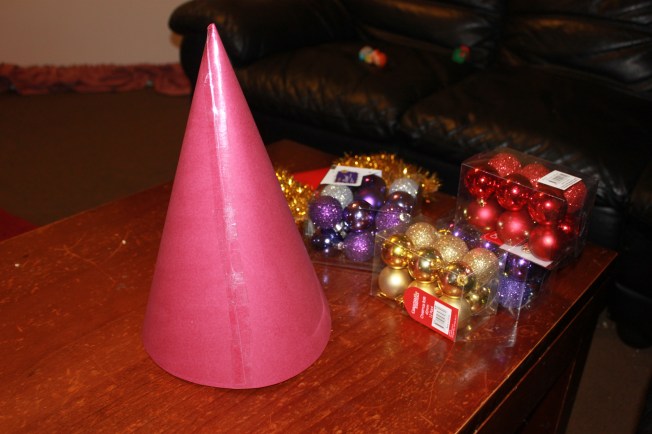
I had been wanting to make one of these for years.  And this year, we did!   I purchased a large piece of card from the newsagent for $1.50 and cut out a half circle (i just used a piece of string to make a giants protractor).   Secured with some tape and we are ready to roll

The little ones had the job of pulling off the strings and clamps, Mr 2 thought that way great fun.

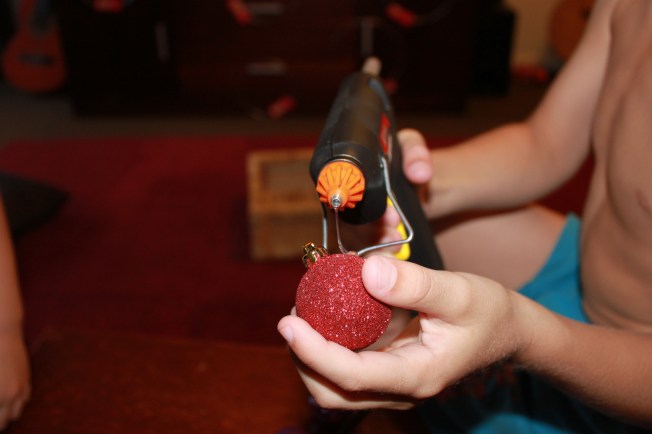
I knew that hot glue gun would come in handy one day.  This is the day.  Mr 7 demonstrates.

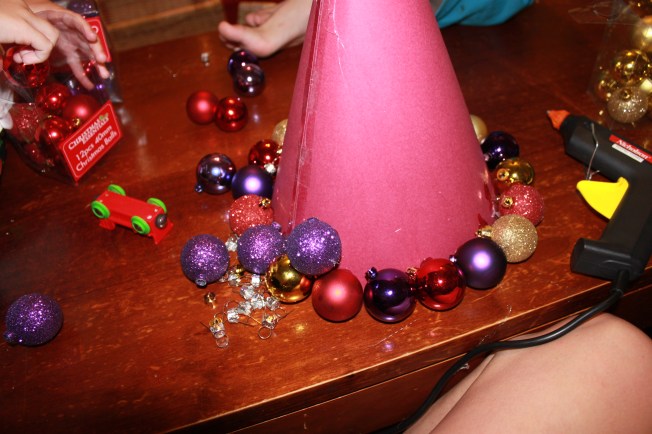
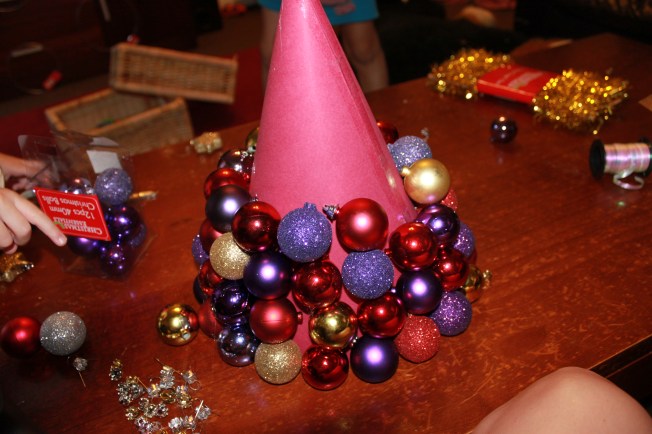
Start at the bottom and work your way up.  We did red purple alternations with every 5th ball gold.  Trying not to put the same texture finish beside each other, but it becomes difficult to avoid

This is the back side where things don’t quite meet up.  If I was to make another one, I would be more conscious of the size and make sure it fits the balls around perfectly – however, all is not lost as you can see next.

Once all the balls are stuck down start inserting the tinsel between the cracks.   I actually ended up using 10 meters (30ft) of this thin tinsel.  I didn’t imagine it would require that much.  The tinsel hides any ‘mistakes’ very nicely.

And there you have it.  It really needs a bigger star, but over all I am happy with the results.

You can buy similar things pre made at Kmart for $12, but where is the fun in that?  All up the project cost around $16.

This slideshow requires JavaScript.

Easy Christmas Craft – Mini Christmas Trees

Standard
Easy Christmas Craft –  Mini Christmas Trees

Inspiration for this idea came from something I saw at Spotlight.  They used buttons though, which looked good, but buying enough buttons for the project would have blown the budget.  I can’t believe how expensive those things are?

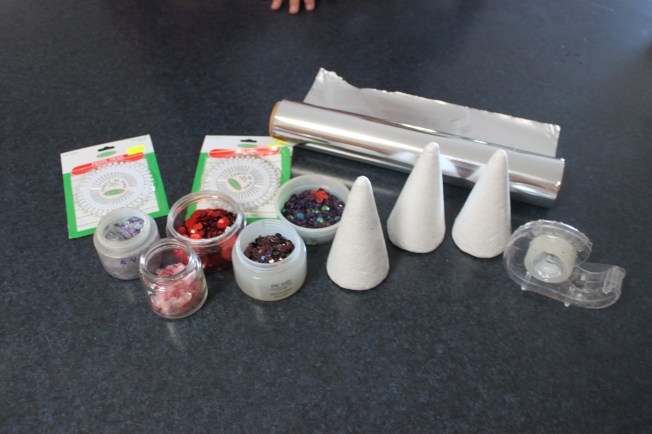
Anyway, What you need.

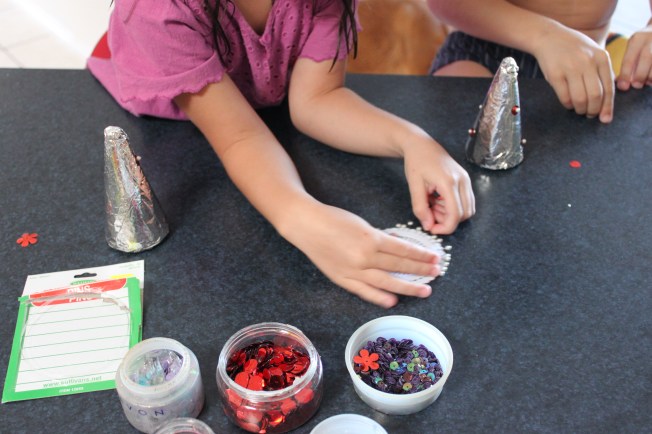
styrofoam tree shapes, sewing pins, aluminium foil, sequins and sticky tape.

Spotlight also didn’t have any of the cone shape styrofoam in stock, so I bought that from Riot Art and Craft.   They are available in different sizes, I just chose 3 small ones to avoid arguments.

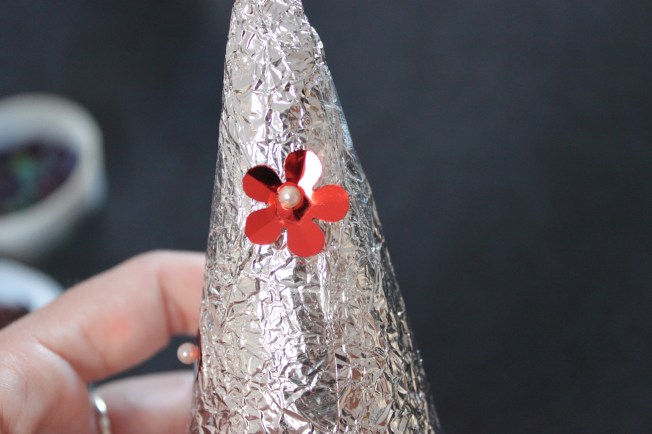
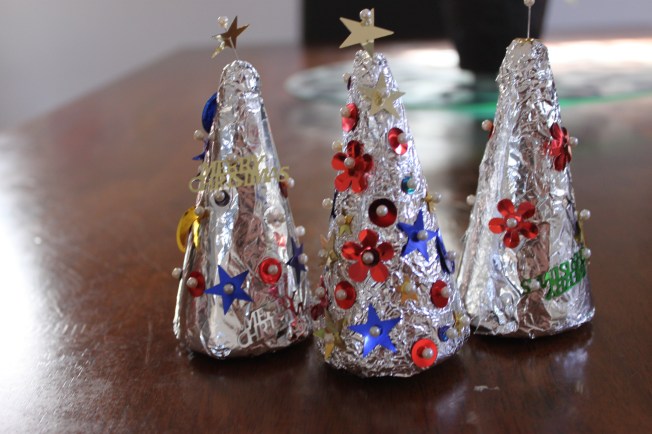
Wrap the foil around the cone and secure with clear tape.  I crumpled up a ball of foil before spreading it out on one, to create a more rippled affect.  I actually prefer how that one turned out.

Once you have the foil secured and are happy with the finish, start placing the pins!  Be careful when working at the top of the cone to point them down towards the bottom as you insert, so you don’t go straight through and poke yourself on the other side.  The kids managed this fine, even Miss 3.  We only had one ouchy, and that was actually me!

Thread sequins onto pin and insert.

This slideshow requires JavaScript.

Christmas Kids Craft, Flat Christmas Tree Decoration.

Standard
Christmas Kids Craft, Flat Christmas Tree Decoration.

Cubby house Christmas tree

So our rainy weekend craft continued into Sunday afternoon.  We started making Christmas decorations!

Materials; scrap card, and any shiny, sparkly or pretty things you have on hand!  We had a pack of Christmas themed sequins from last year that came in handy

We just used a plastic cup to trace around, leaving a small section for the top of the bauble.

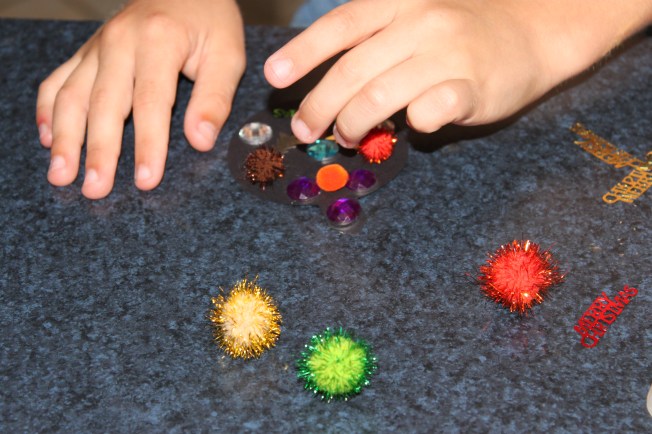
Decorate the baubles

We all decorated 2 each.  Some of the decorations had sticky stuff on the back, others required glue.  The kids made sure they used 500 times more glue than they needed – as you’d expect.

Easy Christmas craft - drying

Due to excess glue, we left them over night to dry. Yes, all that white stuff is glue.

Draw half the tree

Draw half the tree

Using a large piece of card board ($1.50 from a news agent), draw the silhouette of one side the tree, starting at the top of the page to get the most out of your $1.50

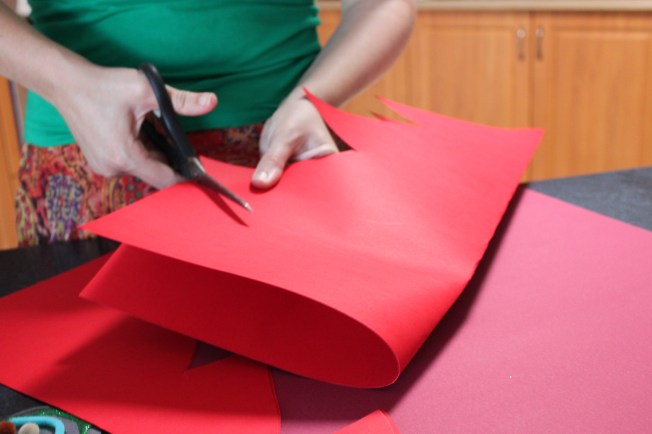
Fold over and cut out the tree to create a symmetrical shape.

Fold the card over and cut along the line, so both sides are identical.

Fold in half down the centre of the tree and cut along outline, to create a symmetrical tree.  Or, if you’re not OCD about that kind of thing like me, just draw a tree and cut it out!

Place ornament around tinsel.

Loosely position everything to make sure it fits, then start sticking.  We used double sided photo mounting tape so we didn’t have to wait even longer for glue to dry.  The tinsel is stapled at each edge.

Kids craft Christmas Tree

And there you have it!

This slideshow requires JavaScript.

Quick Toddler Craft – Tissue Paper Butterfly Mobile

Standard
Quick Toddler Craft – Tissue Paper Butterfly Mobile

After 2 days of rain the daughter was really tearing her hair out – or was that mine?  I had plenty of work to do, but figured I best take some time out to entertain her.  Once again inspired by ABC Play School  They were making paper butterflies to blow in the wind, so I thought we’d just extend on that idea.

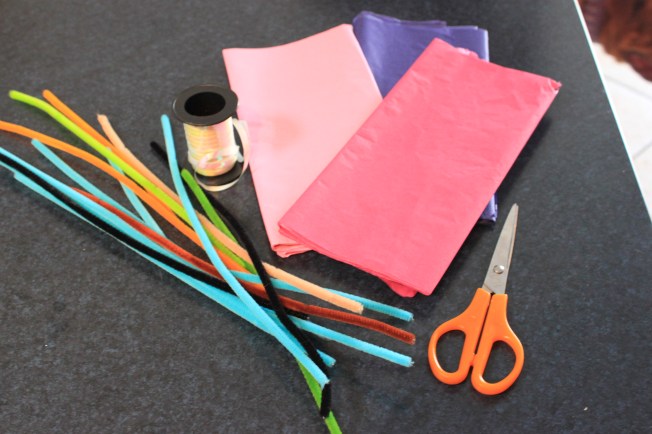
What you’ll need for tissue paper butterflies

What you’ll need; tissue paper (crepe paper would probably work just as well) pipe cleaners, scissors, plastic ribbon and a coat hanger (not pictured)

Twist the paper in the middle

Cut squares or rectangles out of the paper and twist in the middle – as demonstrated by Miss 3.

Twist a pipe cleaner around the middle.

Twist a pipe cleaner around the middle.

Twist a pipe cleaner around the middle.  This is not entirely necessary, but I liked the addition of an extra colour and texture, as well as the antennae look it created.

Attach the string or ribbon

Attach the string or ribbonAT

Attach your string or ribbon, keep attaching as many as you would like.  We just did 3 on each string x 3 strings.

Finished

As a mobile

in the window

In the window

This slideshow requires JavaScript.

And there you have it.  Took less than 10 minutes to create and she thinks they are awesome.

Easy Toddler Craft – Leaf Animals.

Standard
Easy Toddler Craft – Leaf Animals.

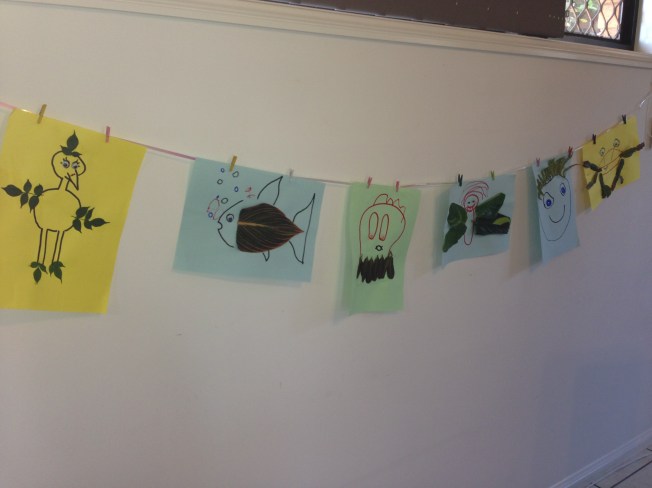
Inspired by ABC Play School.  Today we made leaf animal pictures.  It was super easy with minimal mess.

Cutting the leaves for the project

Layla cuts some leaves off our pot plant

DD3 cuts some leaves from our garden.

Leaf pictures

What you need.

What you will need;  Some coloured paper, leaves, marker pens, craft glue and scissors (craft eyes optional)

Leaf pictures

Draw some simple animals to add the leaves too, like this bird.

Draw the outline of some simple shapes on the paper using your makers.

Toddler leaf pictures

Glue on the best shaped leaf for the job!

Start gluing on the leaves that best suit the picture.

Toddler leaf craft

We used the same leaf configuration each time to finish off this bird.

We used the tips of a China doll branch to create this picture.

Toddler leaf craft

Adding the finishing touches.

Adding some boggle eyes, because every kids loves those (ok, and maybe I do too)

Toddler craft leaf bird

One of my favourites

Some of the finished products

The finished products

The finished masterpieces, drying on a flat surface.

Hanging toddler craft

All dried and ready for display.

All dry and ready to display.

This slideshow requires JavaScript.

Glitter Play Dough (Home made)

Standard
Glitter Play Dough (Home made)

After establishing my daughter has low muscle tone, it was suggested by her occupational therapist that we use play dough to warm up her hands before any writing or drawing activities.   Obviously it also has many other benefits, like fine motor, creativity, blah blah, but anyway.  After buying all the different brands and them still ending up dry and ‘ordinary’ after a week, I decided it was time I got off my little b-hind and made our own.  Unfortunately I only had blue food colouring on hand (because the kids always want some in the bath, so we go through a lot :s ) .    I chose this recipe, as it had a 5 star rating.  The only problem is I don’t have nor have ever bought cream of tartar?  So some googling suggested I could omit it for baking powder and vinegar, but the vinegar was going to mess with the liquid content and ohhh, it all seemed too hard.  So, as I do, I figured I’d just do a splash of this and a bit of that.  I used about 1 tablespoon of white vinegar and 2 tablespoons of baking soda.

Ingredients

What you need

I mixed all the dry ingredients with a whisk, then added the water and the rest of the wet ingredients.  It was very wet.

Wet ingredients

All mixed together.

The recipe does not actually tell you how hot to cook it, so I just went with 4, which is just below half way on my cooktop.  This worked well.

Thickening

After just a few minutes it starts to thicken.

I continued working with the whisk to avoid lumps, but eventually it became too thick and was all getting stuck in the middle of the whisk.
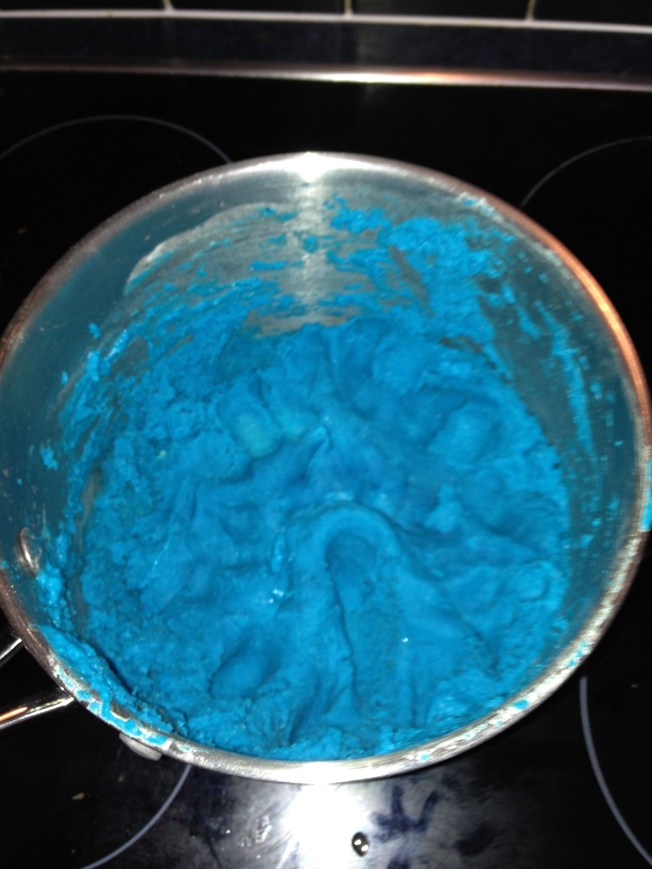
Looking just about ready.

I’d call that done.

Soon enough, this is what we had.  I used my fingers to test (first time they came away all sticky, much like a skewer in cake) but then it was just about right.  Surprisingly even though it was still over the heat, it was not very hot to touch.

Adding glitter.

Adding glitter to the cooked dough

I added a vile of glitter, because – well why not?  I did this before the final kneading so it was well distributed.
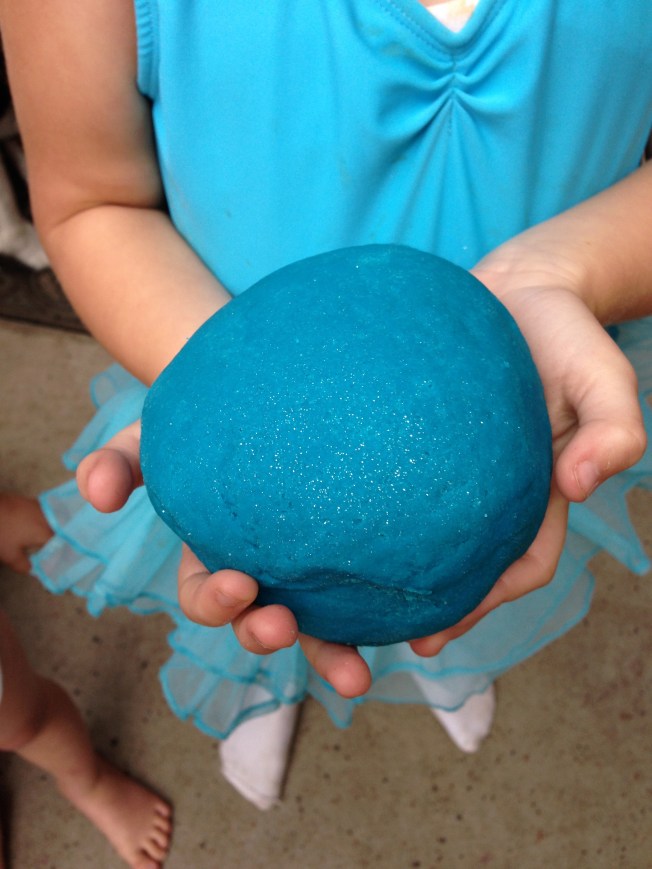
And there you have it

And there you have it.

And here it is.  The recipe says it makes enough for 4, but I’d say its more for 2.

Playing

Playing

It turned out really smooth and soft.  As demonstrated by Mr Grubby.
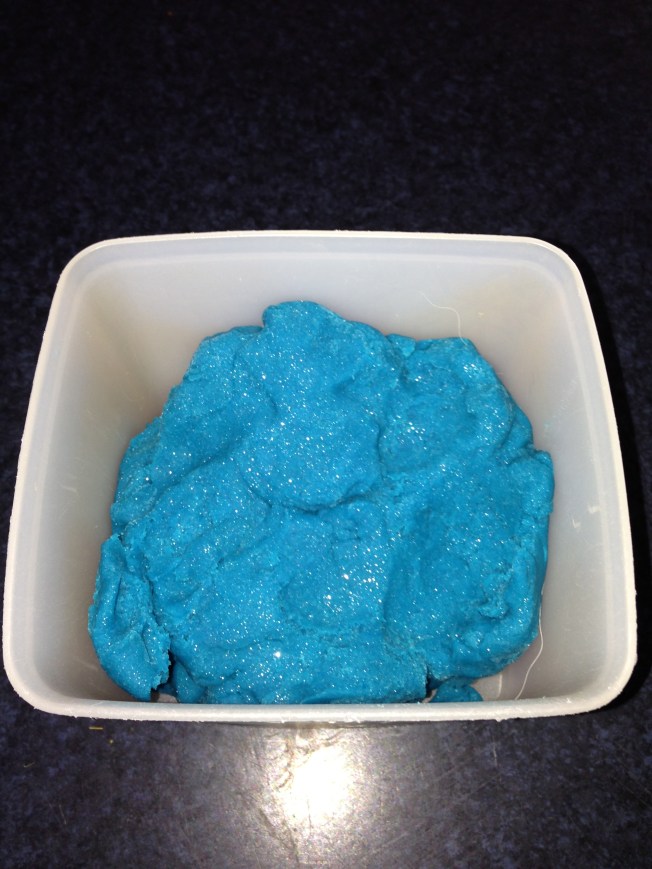
Ready to store

Ready for the fridge

The recipe suggests it keeps for up to 6 months in the fridge.  I like the sound of that, I’ll be happy if it lasts 2 weeks.

Creations

playdough creations

Aliens

The Aliens have landed

The recipe;

1/2 cup of salt

1 cup of plain flour (I used SR)

2 Tablespoons of Cream of Tartar (I used 1 tablespoon of white vinegar and roughly 2 tablespoons of baking soda instead)

1 cup of water

1 tablespoon of oil (I used olive oil)

Food colouring (I used a generous splash, probably 2 cap fulls)