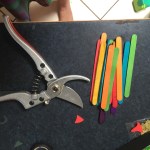
I saw one of these in a game shop last Christmas, I thought it was very cool but not “I’m happy to spend $40 on this” cool. It just looked far too easy to make myself. Turns out I was right. You could make these in any shape or size, and fill them with just about anything. We had all these things in the house already, so it was fairly inexpensive.

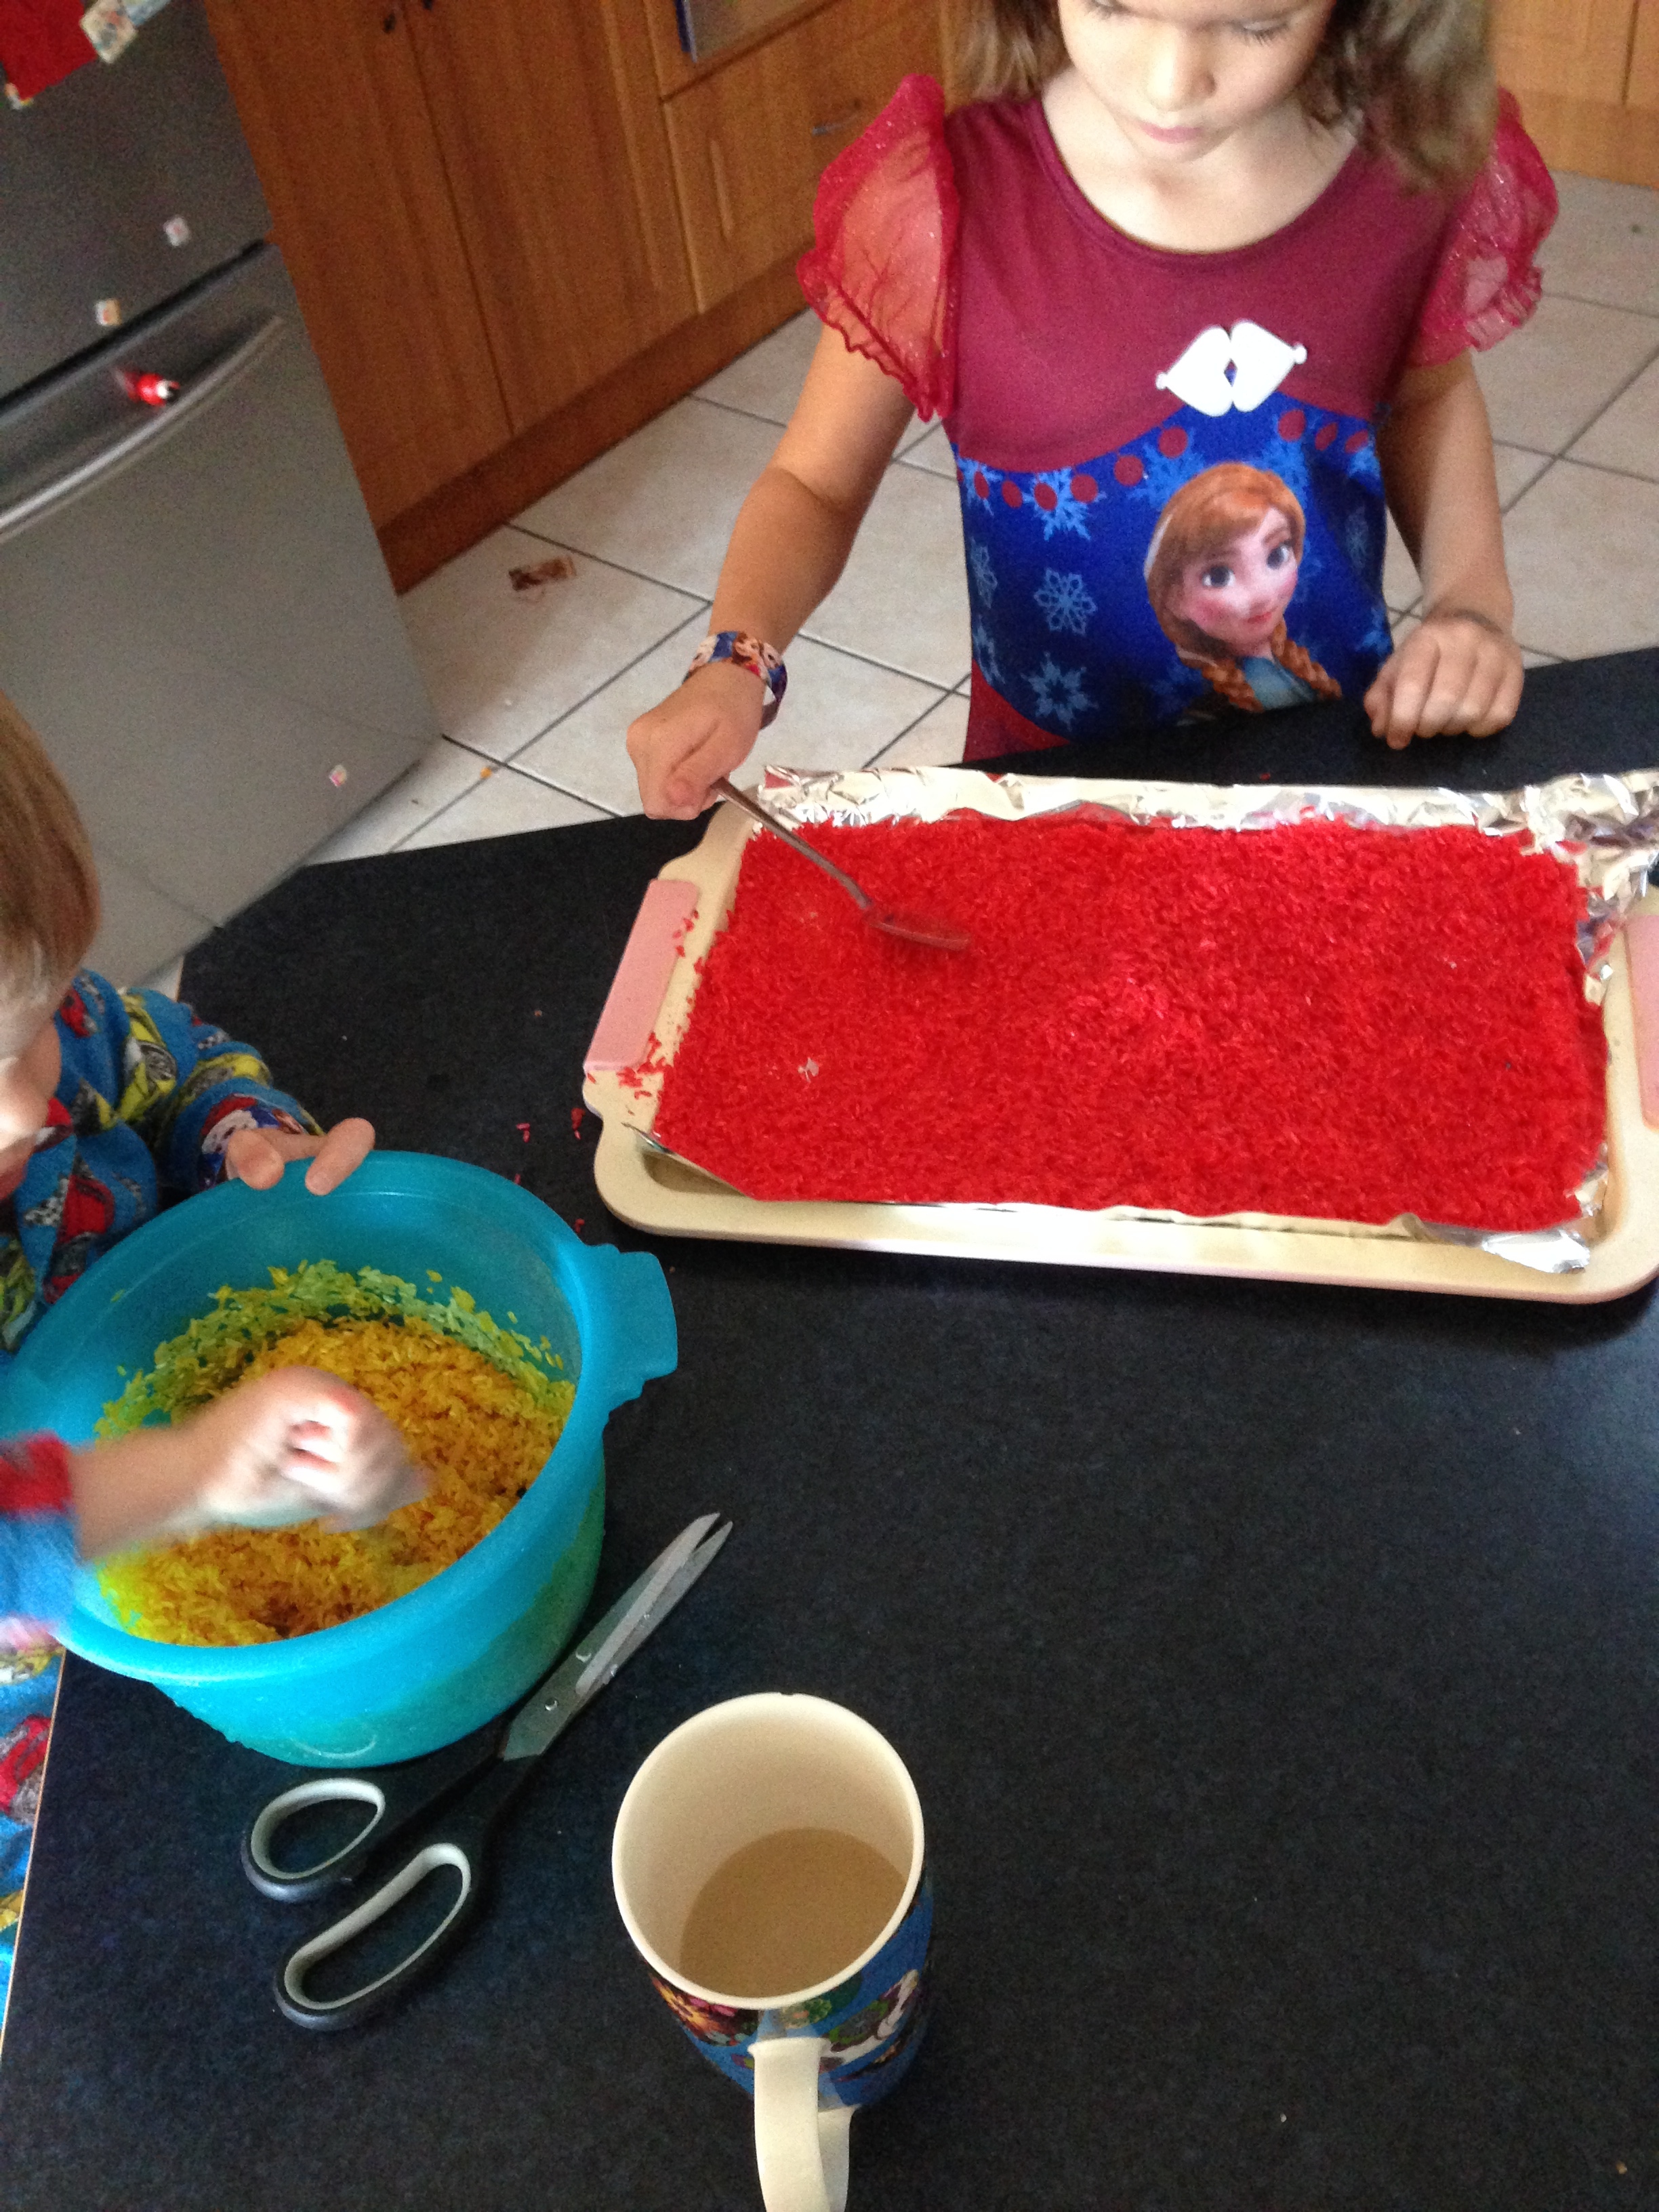
There is several methods for colouring rice on the net, but I was looking for quick and simple. The blue and red we made with just food colouring and a dash of water, mixed well then laid flat to dry. The yellow we used vinegar in place of the water (some recipes asked for rubbing alcohol but we don’t have any of that). The yellow dried about 3 times faster than the other 2, so that is the way to go. Instead of placing the trays in the sun, I just put them in the oven at 50C with the door open. The red took about an hour to fully dry (it took the longest). I did stir it around occasionally to prevent any sticking and distribute the wetter rice.

While that way drying we hunted around the house for appropriate goodies to put inside. We came up with 20 items. The amount of items you want to use will depend on your container size. I think we could have easily used twice as many, but it was still a good ratio. The items varied in weight and texture.
It would have been easier to mix all the rice colours together prior to filling the container, but the kids enjoyed layering the different colours with a few objects between, then shaking to mix at the end.
The container we used was an old straw holder. You can buy them full of straws at the grocery store for around $4. It did have a hole in the top, but this actually came in handy as a place to insert a ribbon and attach the key to what is inside.
I took a photo of all 20 items, shrunk it, then printed and covered in clear contact. Attached to the ribbon on top. If you were to just use a clear water bottle or similar, you could just tie something to the neck of the bottle.

The key
Once everything was put in and we were happy with the level of rice, I taped it up nice and tight. And that’s it. Some of the lighter items are easy to find and often pop up to the top, but theres several things we have not managed to find again, like the smily badge and dinosaur!
The kids really enjoyed this project and were able to be involved every step of the way. It was a bit messy, but over all a success.

Mr 3 mixing in the food colouring.

Ms 5 spreading out the rice to dry

In the oven

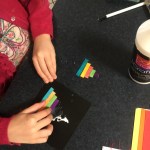
Ms 5 filling the container.

The collection of objects.

Lid

Lid with ribbon inserted and tape over hole.

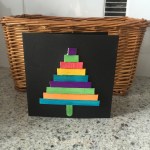
All taped up.

Some of the hidden items

I see and E!

A bottle of beads!

Lego!

The key

DIY Hidden objects game.