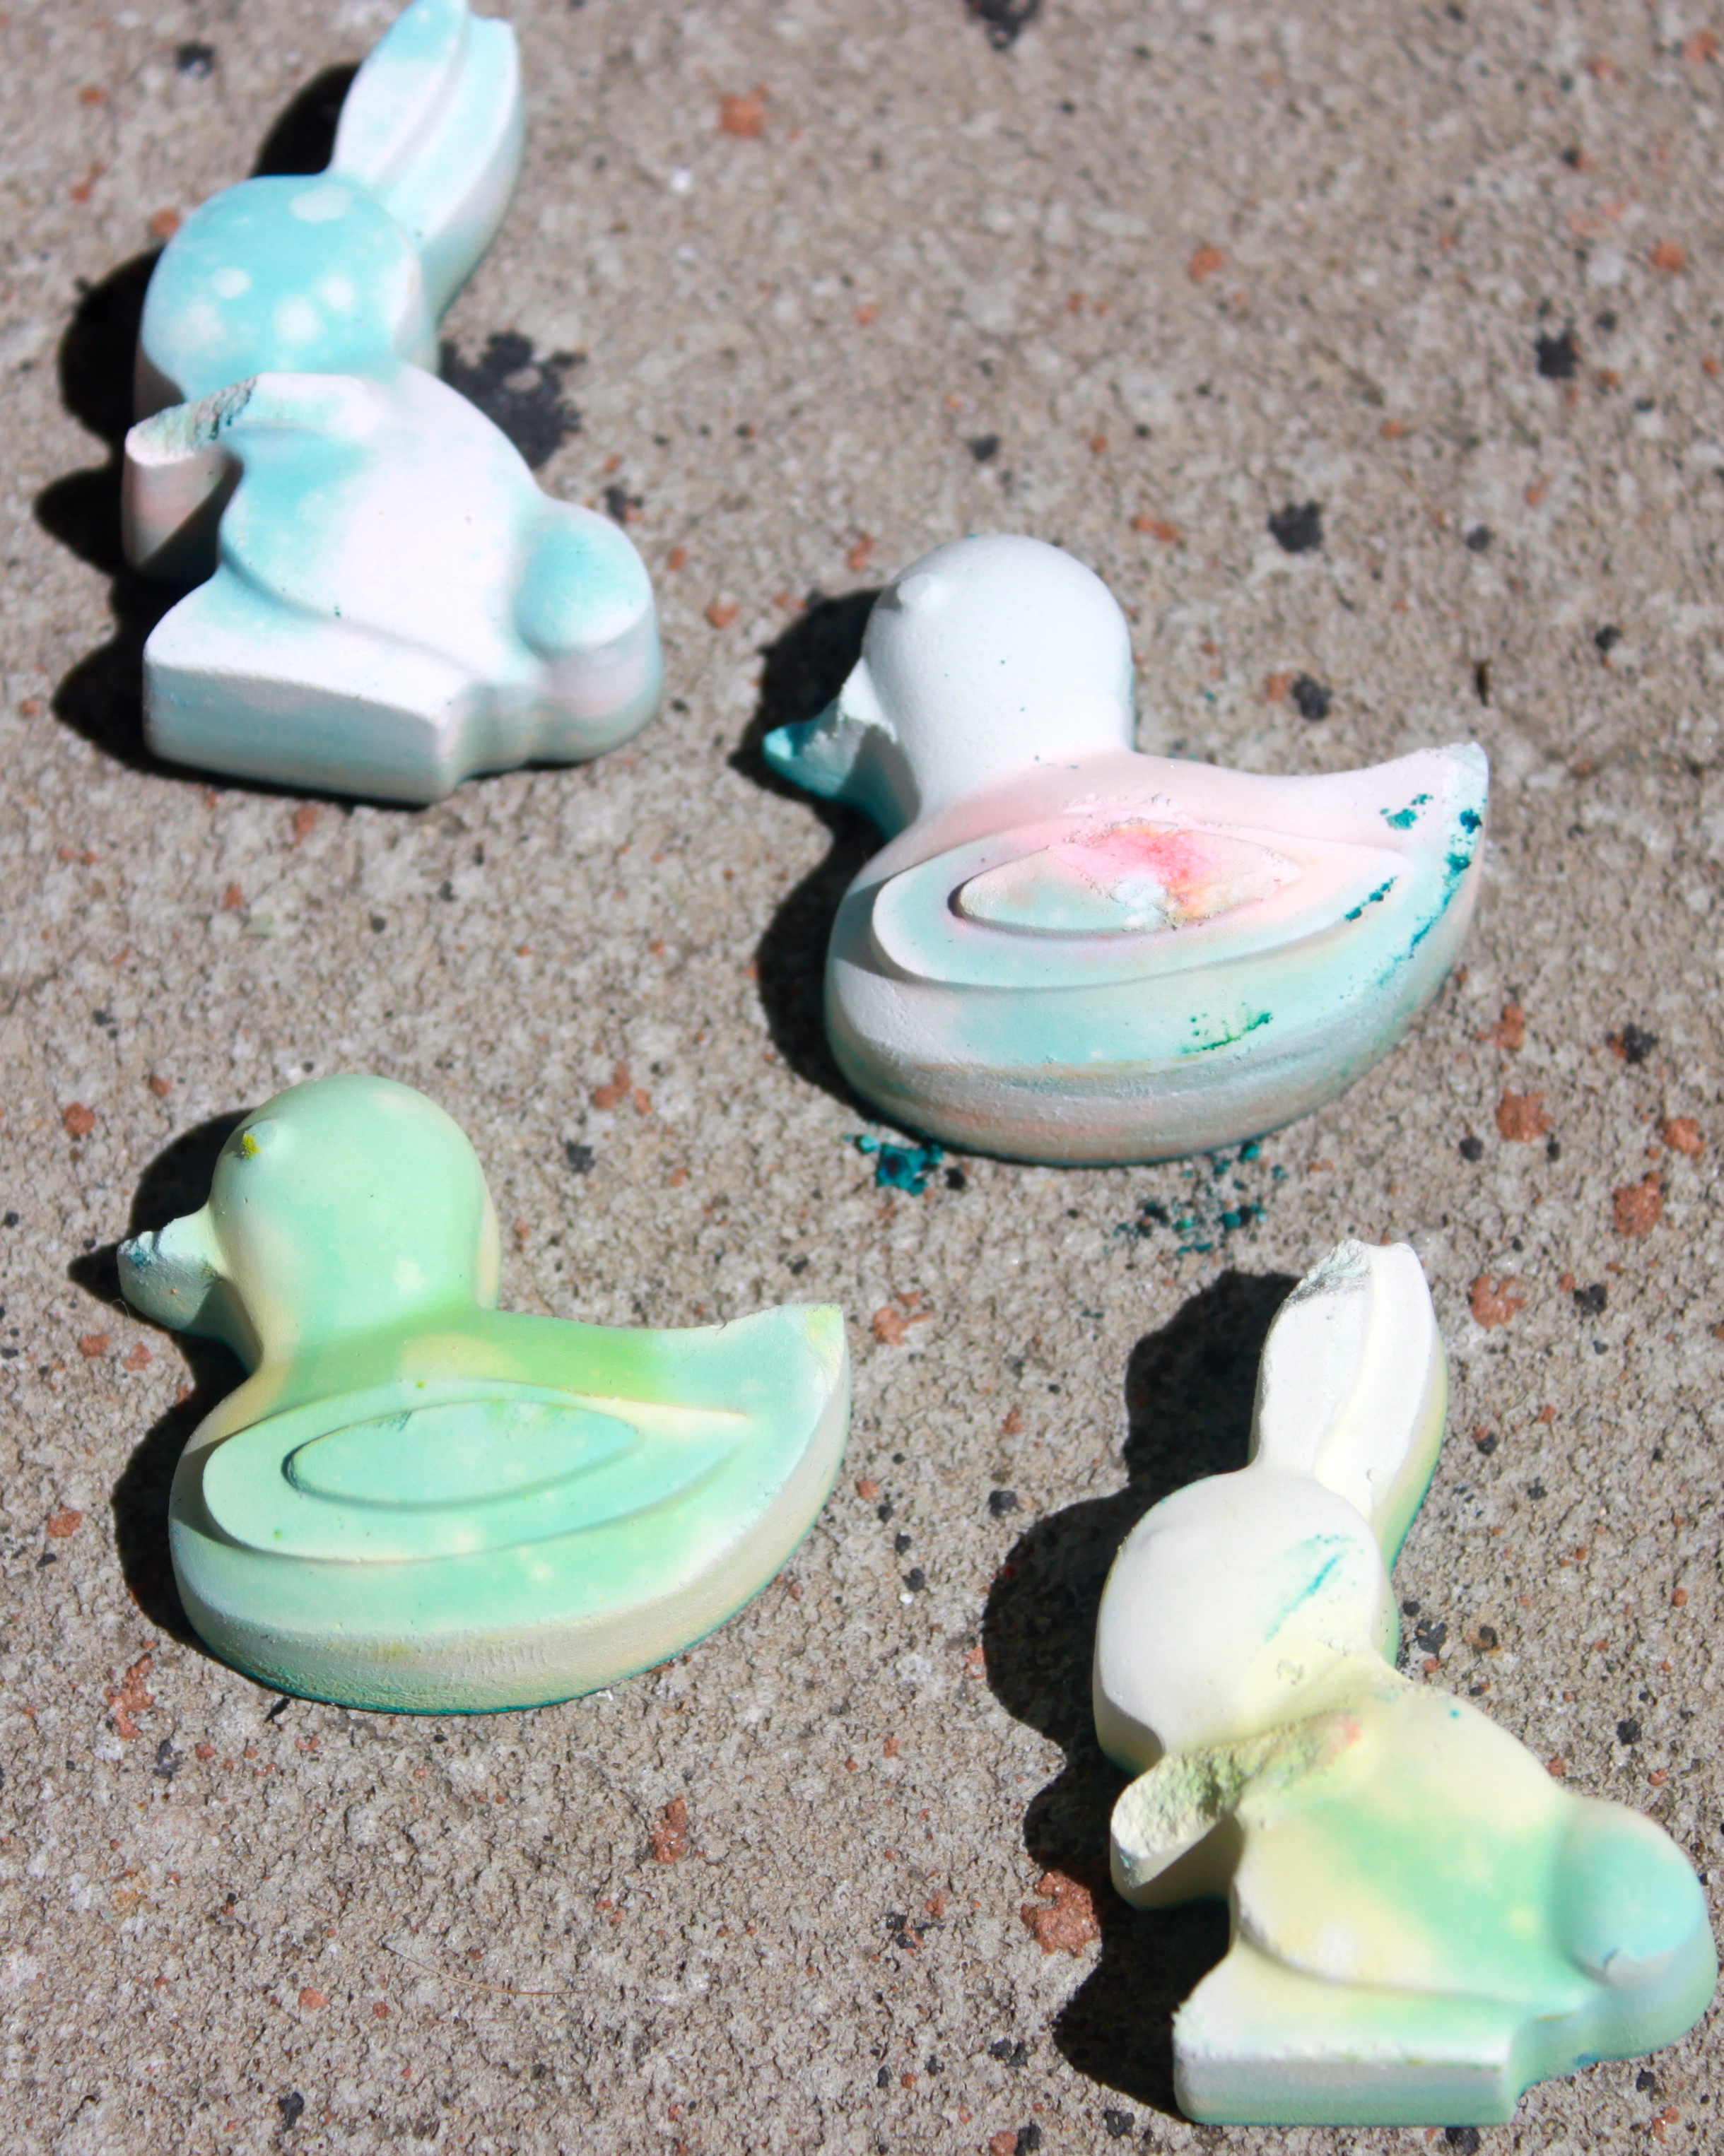
I have been going to try out this home made chalk method for a while. When I picked up some new silicone moulds from Aldi last week, I figured it was the perfect opportunity to try them both out!

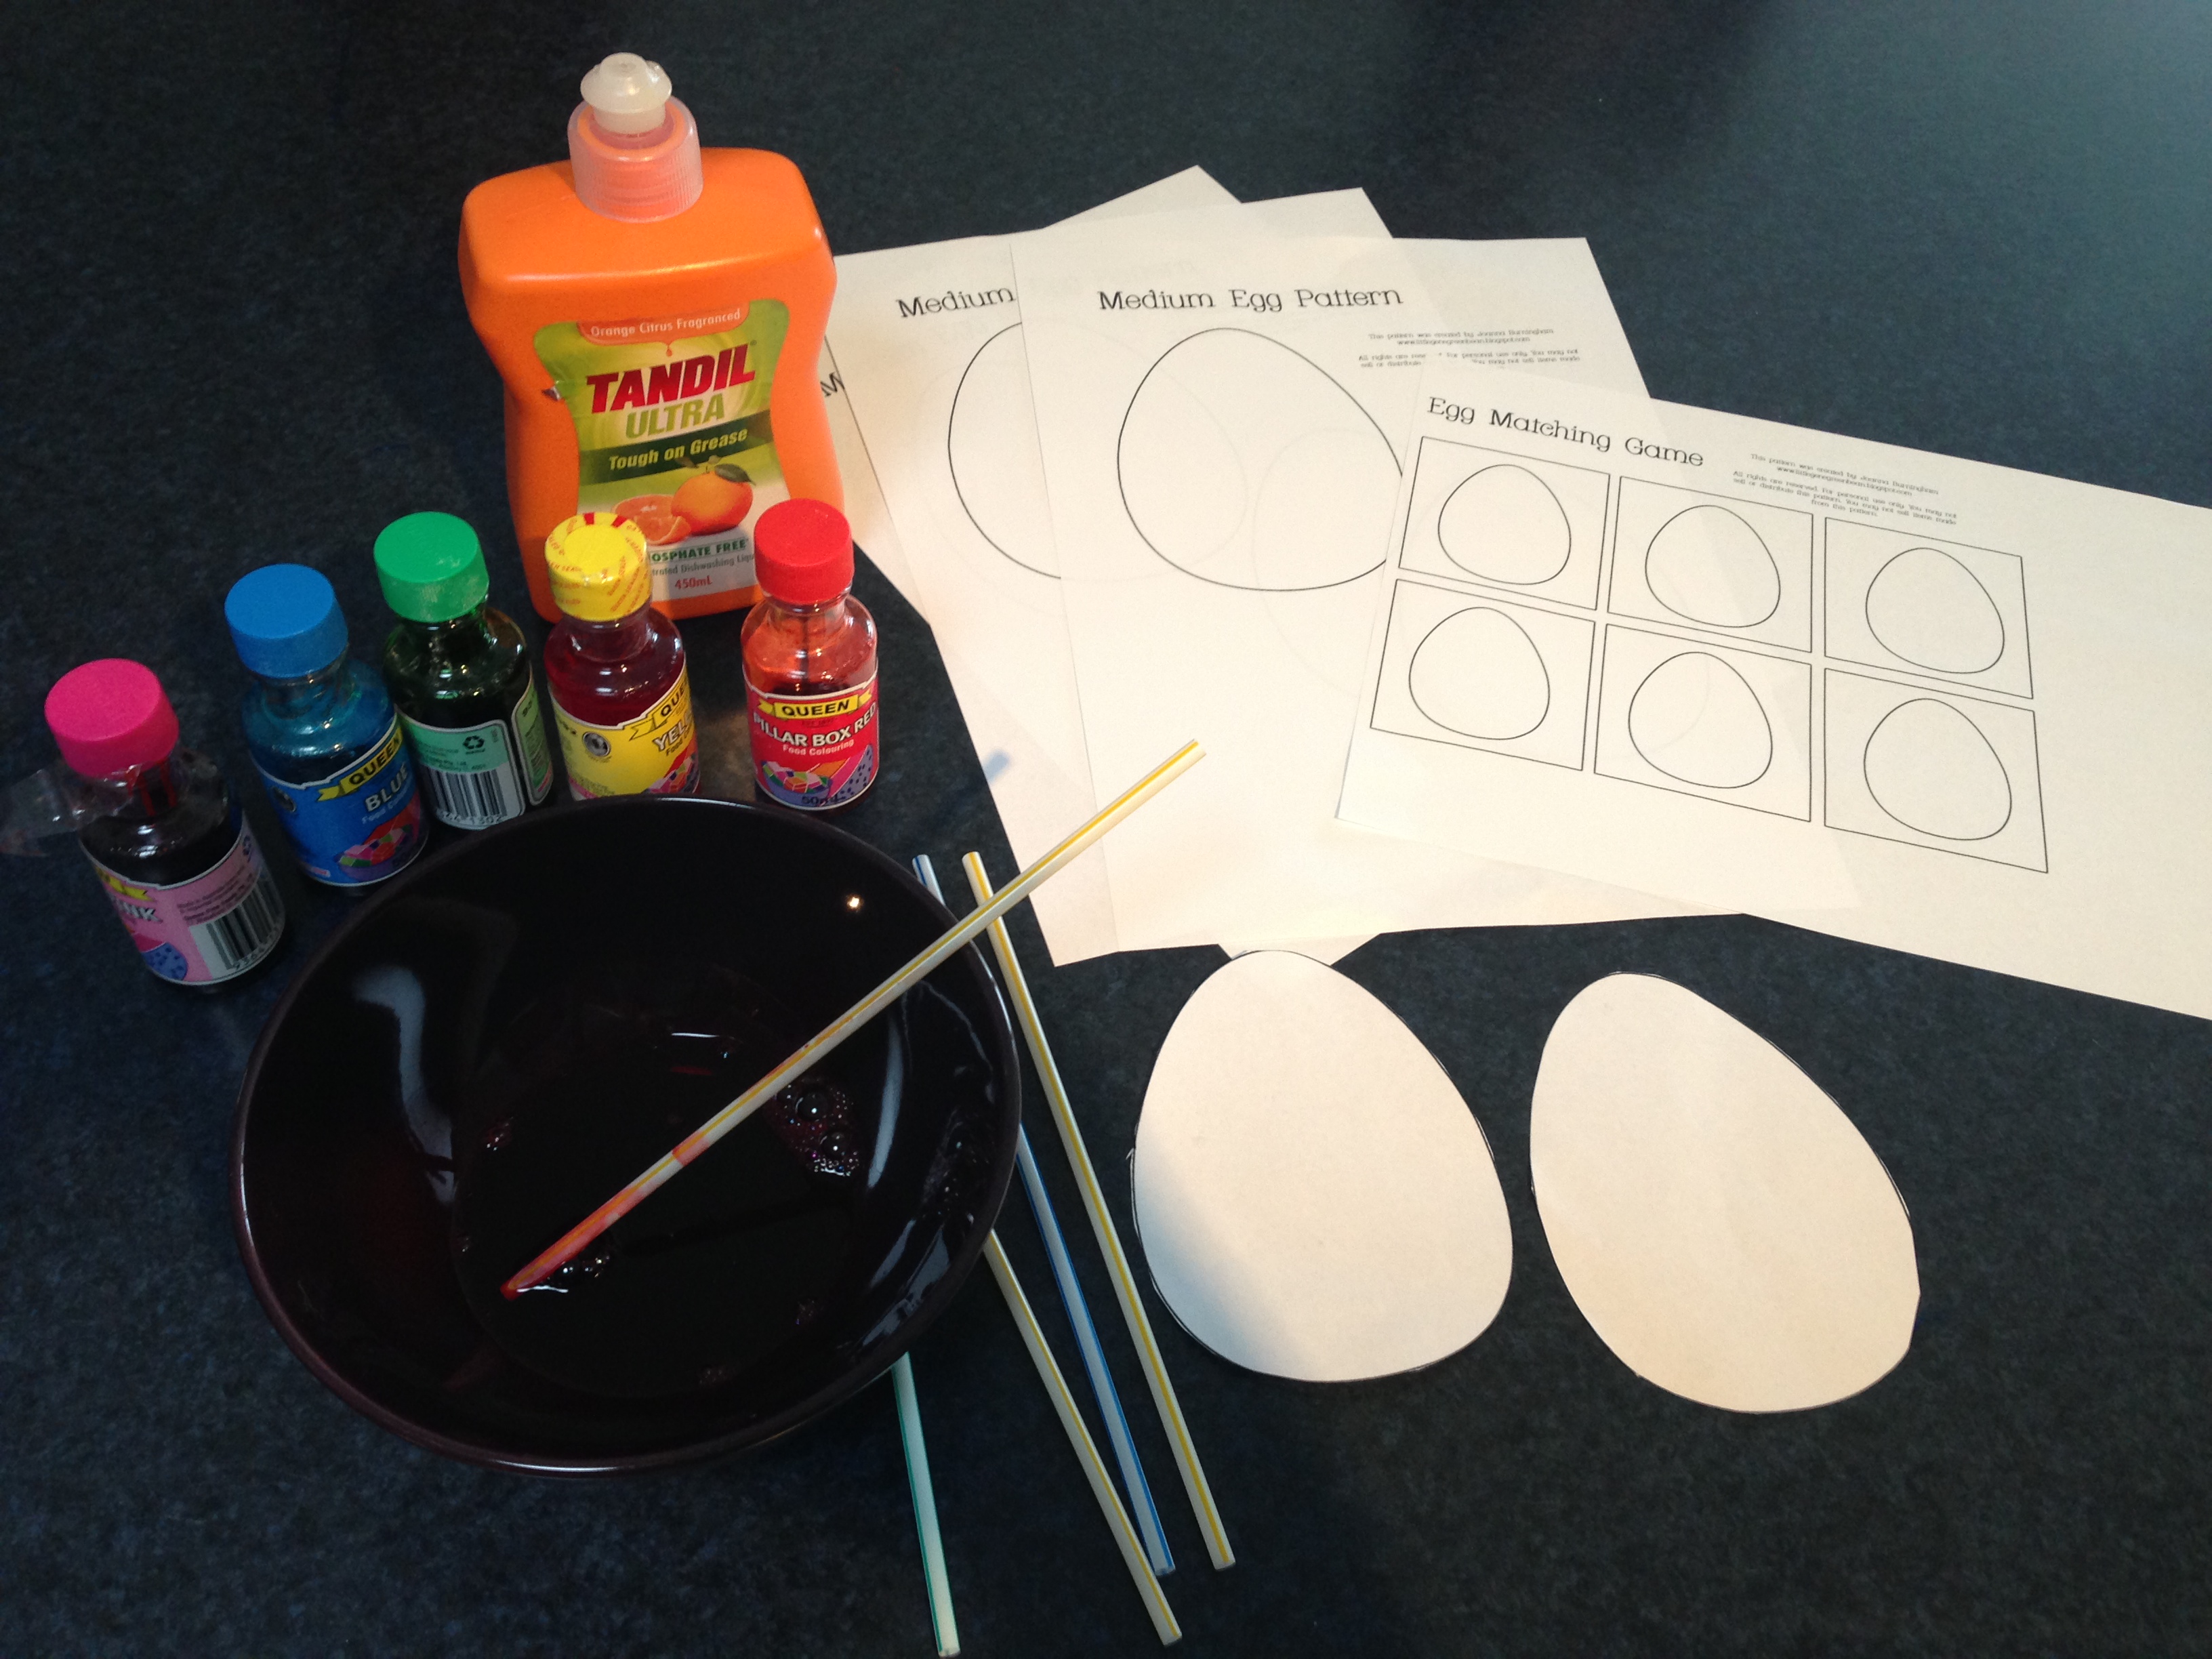
Ingredients and utensils.
Ideally disposable plastic cups would be the best thing to mix the plaster in, but I didn’t have any, so we just used some plastic cups we are not very attached to (IE, not Tupperware, lol). You can buy plaster of paris from any large hardware or craft shop for around $10 for a 3kg (which is heeeaaaaps, 1kg is more than enough for this project). Silicone or rubber ice cube trays, food colouring and something to stir with. Again, paddle pop sticks would have been better, but these skewers will do the trick.
-

- Mix the water and the colour, then add the plaster powder
-

- Stir thoroughly, don’t let the mix get too thick so you can still pour it into moulds.
-

- Ms 4 mixing in the plaster
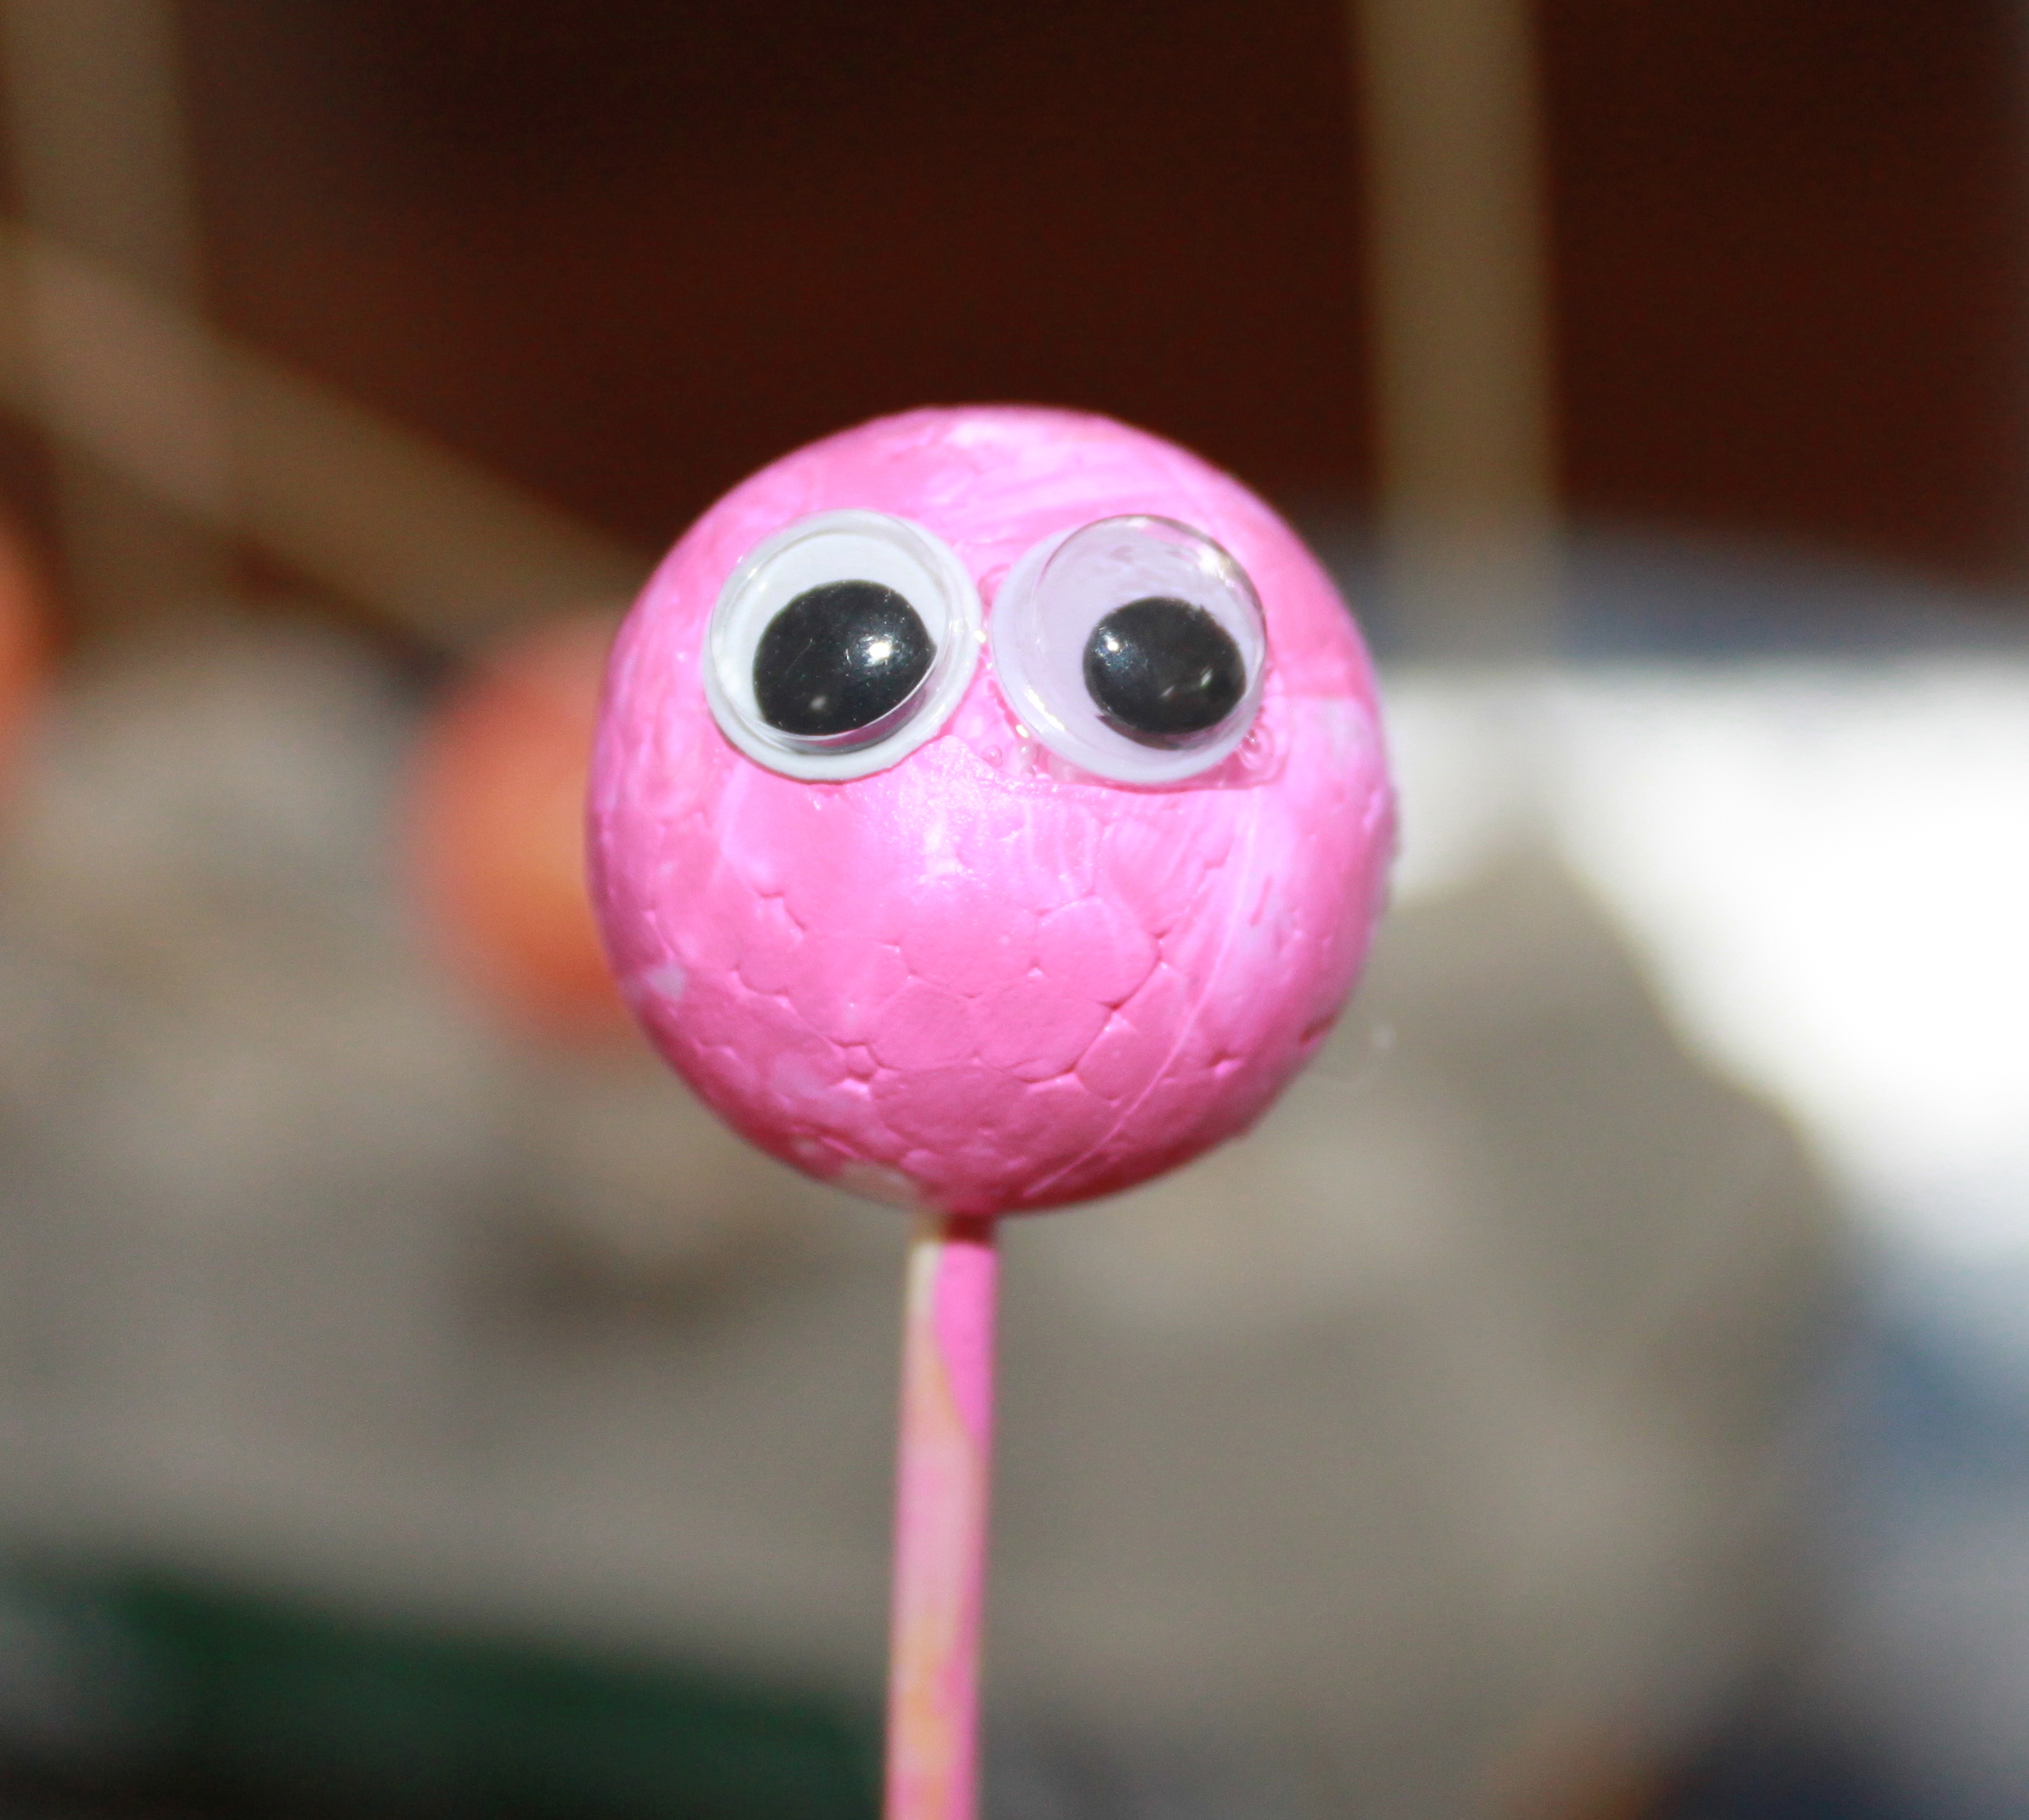
Mix the food colouring in the water first, then add the plaster. Stir rapidly until its fully mixed, then poor into the moulds. The plaster will set in roughly half an hour, some water may rise to the top, you can just dab this away with some paper towel or tip the moulds after this time for it to run away. Then allow to fully cure in the moulds over night. We also experimented with some glitter in the chalk, for something a bit different. It actually worked quite well, although its really hard to capture the results with the camera.


Then simply turn out of the moulds and get drawing!