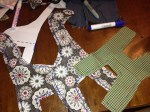
In Australia, Easter in my experience at least, is all about chocolate eggs. The only time I decorated an egg was in grade 3, for a decorating competition. But apparently in other parts of the world its just what you do at Easter time. A friend showed me this idea and I just had to give it a go! I rushed out to the local Op shops that afternoon and fumbled through a rack of ties trying to find any that were 100% silk (they must be 100% silk, polyester will not work). One shop charged $1 each and the other wanted up to $5 each, I told them they were dreaming and talked them down to $2.

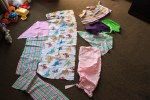
$20 worth of Op shop pure silk ties
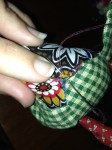
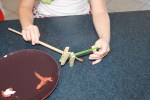
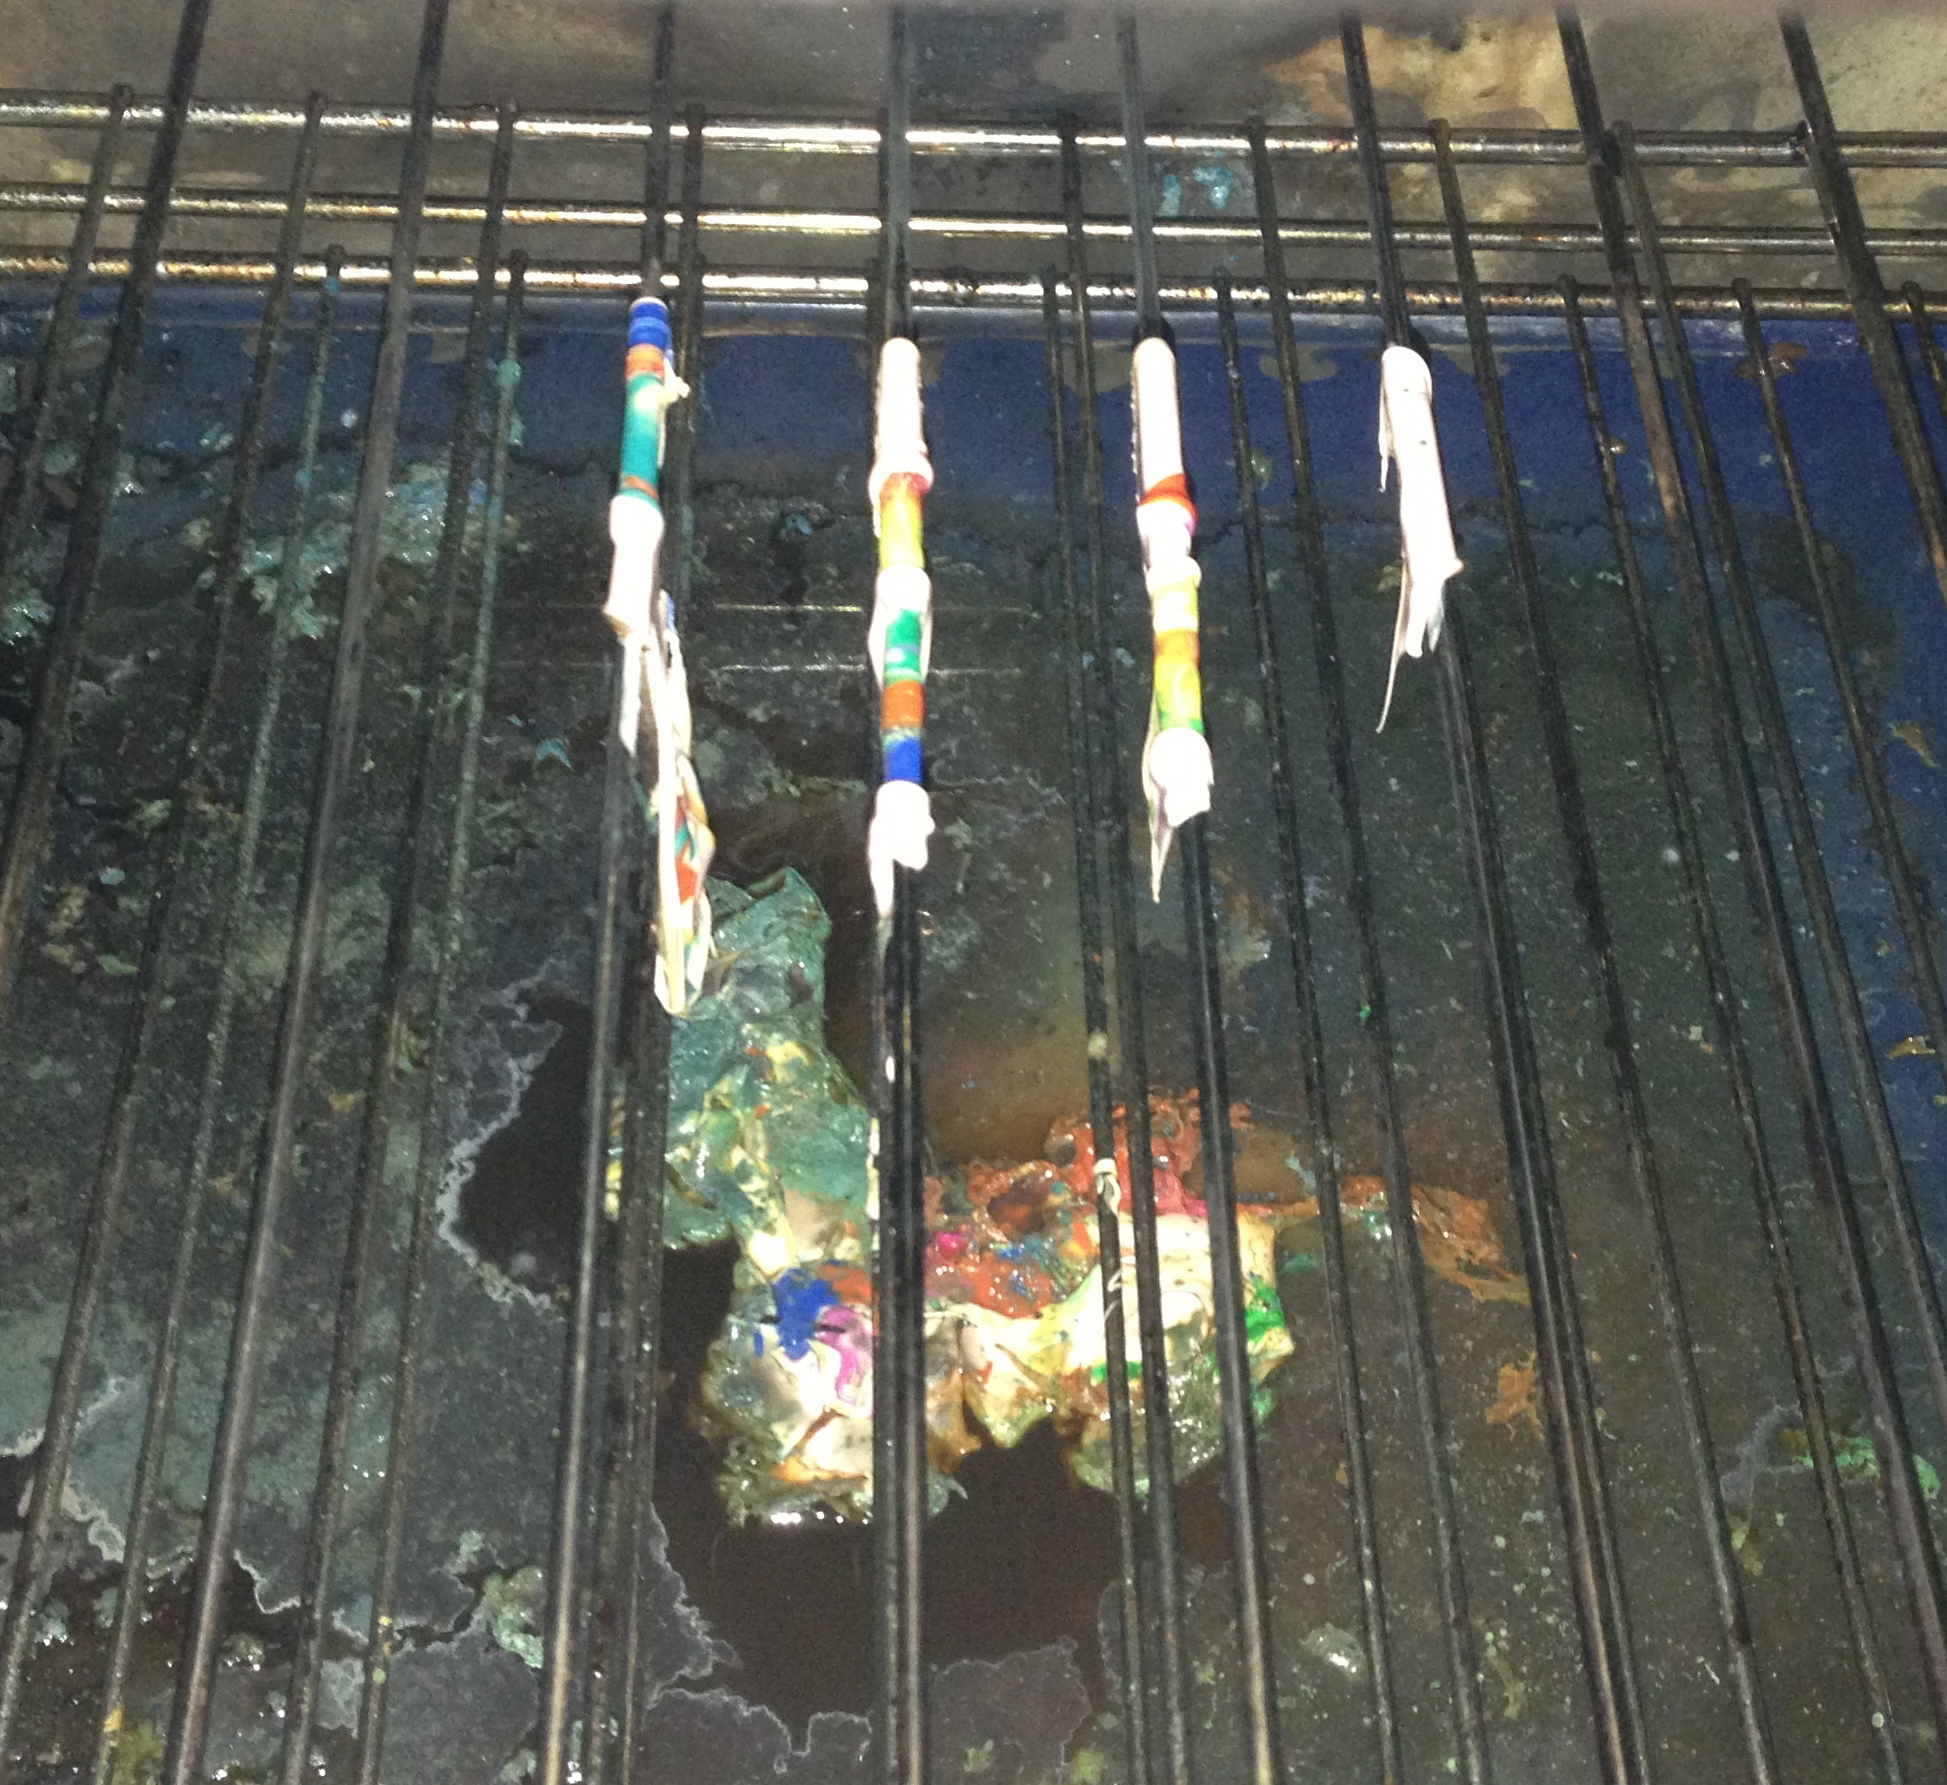
You can do this with boiled eggs, but I wanted to be able to keep them for future years or at least future craft projects. So rather than using whole eggs, we blew the eggs. That was a challenge in its self, but once I got the hang of it, I cleared out a dozen eggs and away we went. Cut the stitching at the back of the tie so you can open it up, remove any lining and cut a piece big enough to cover your egg. Making sure the dark side (what was once the outside of the tie) is against the egg. Secure with a twist tie or as I did, rubber bands as tight as possible without breaking the egg. You want as much surface contact as you can get. I then removed the excess fabric to make putting on the second layer easier.
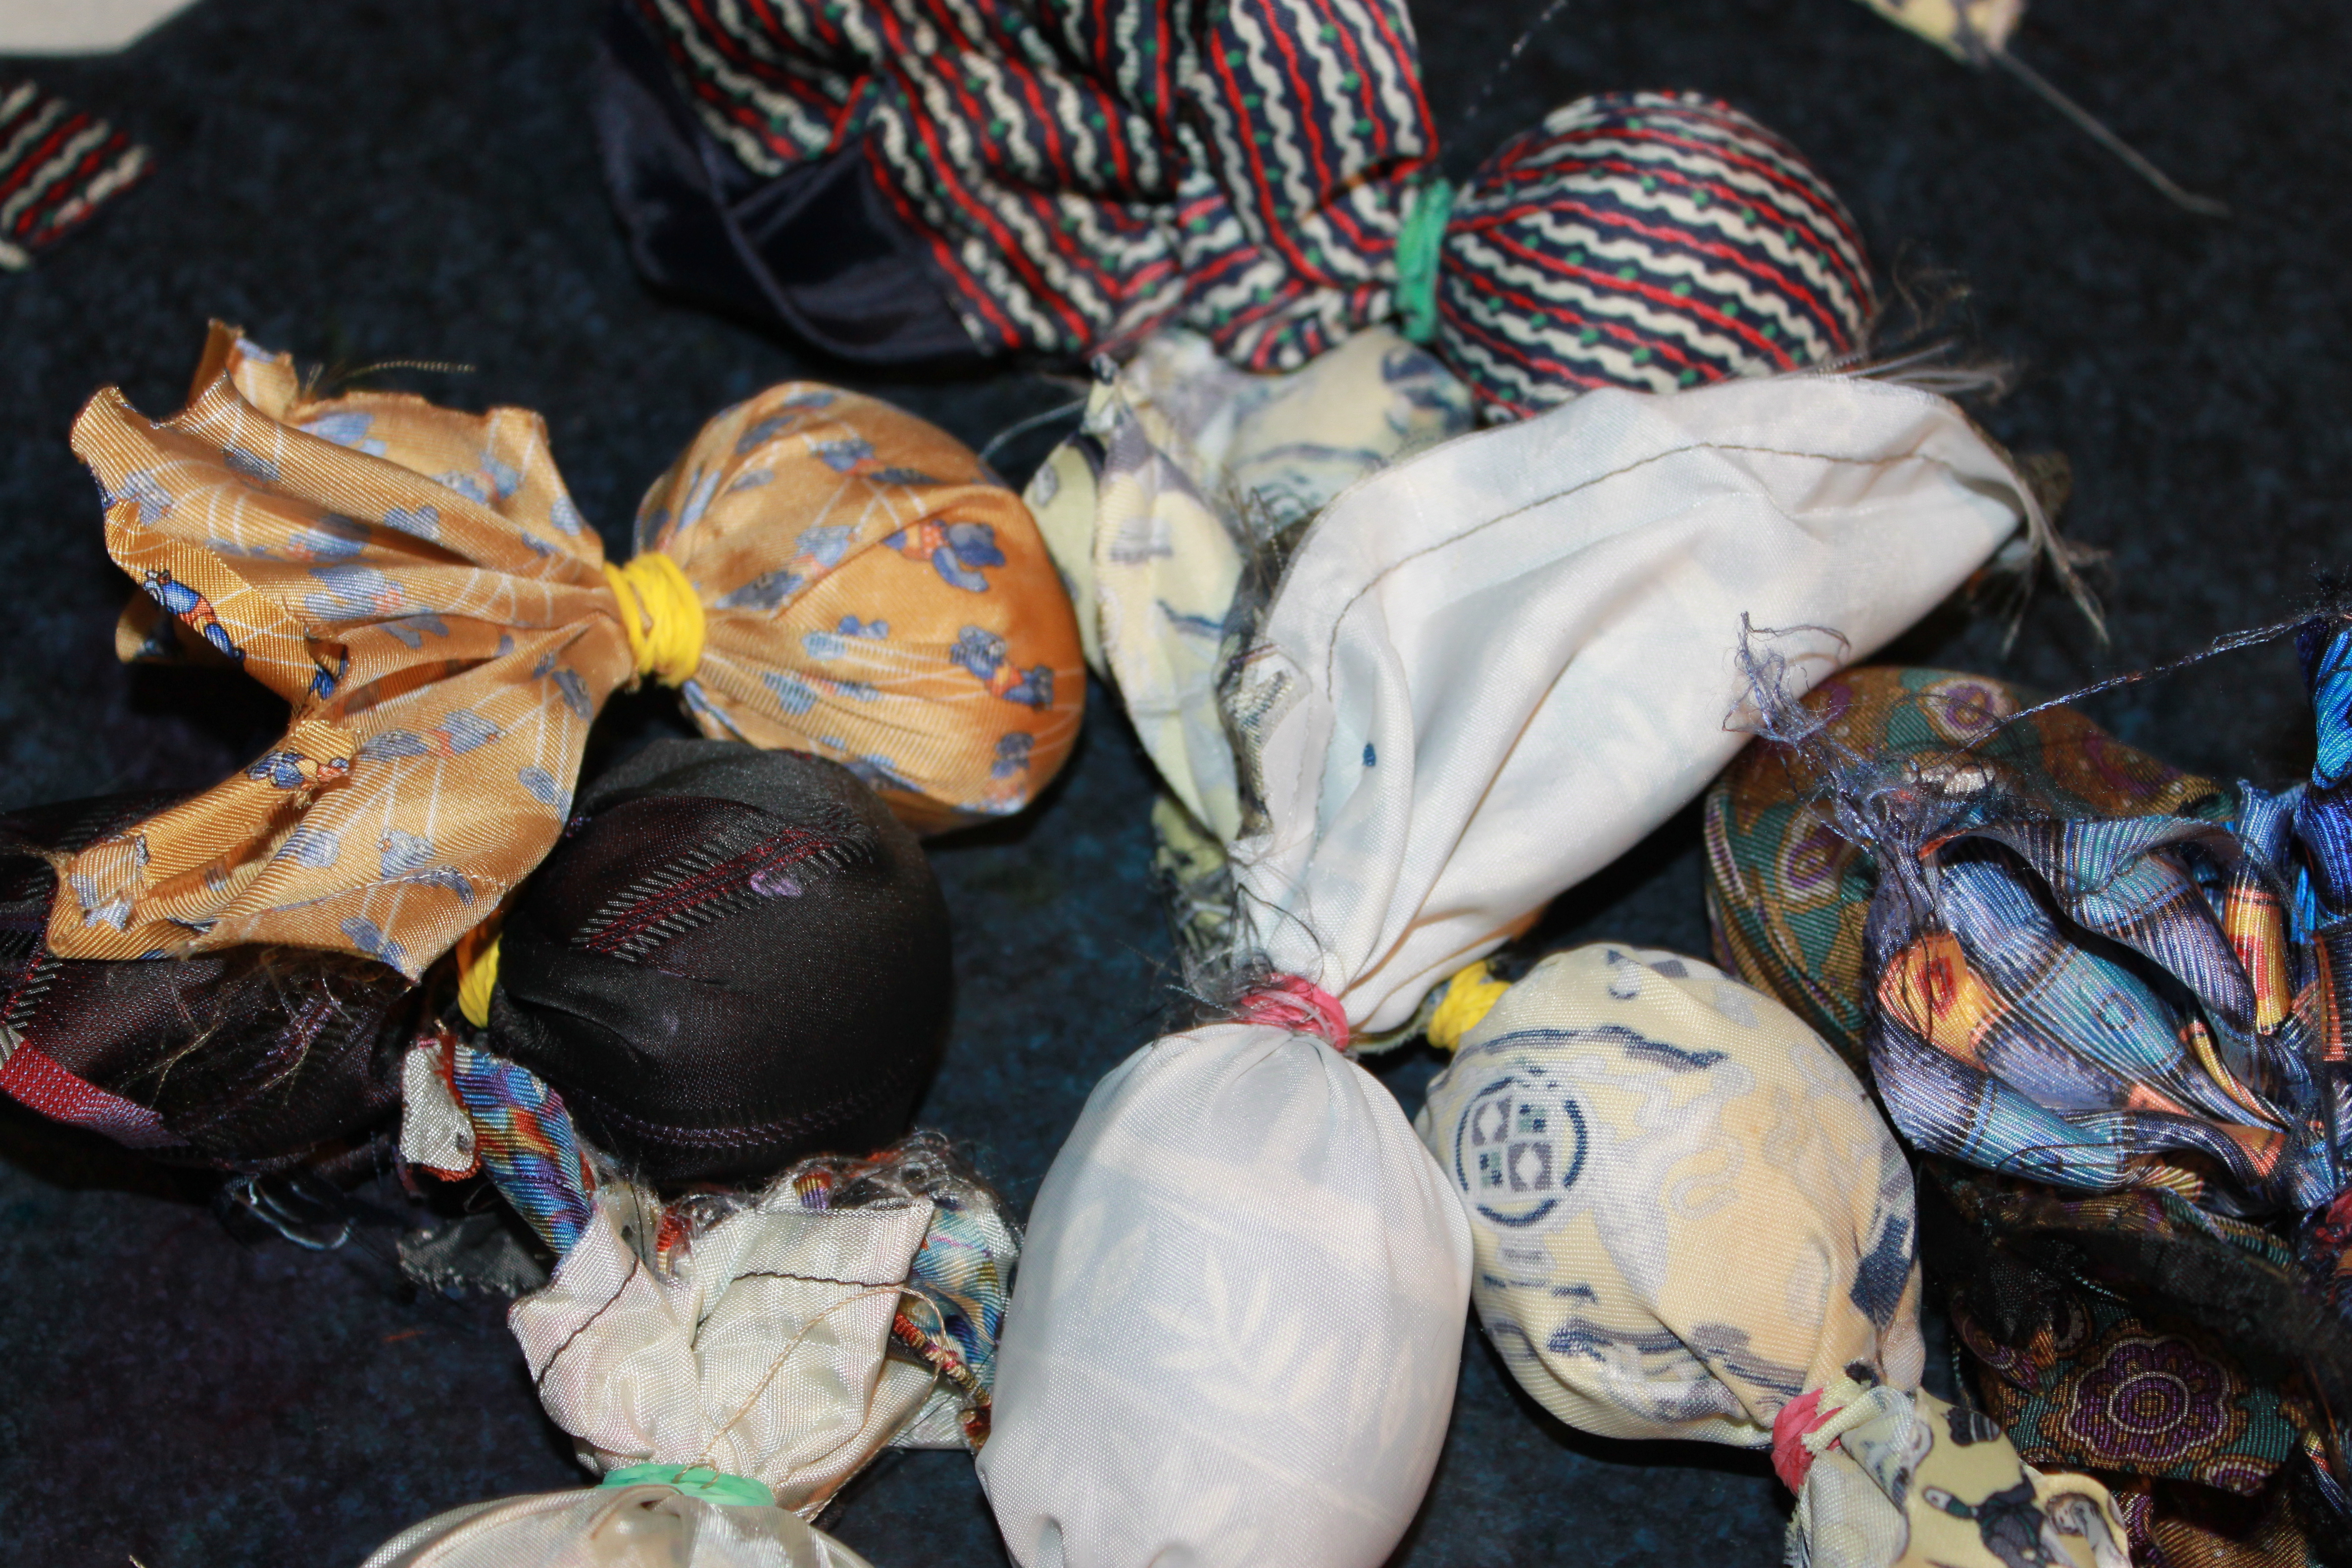
All wrapped up tight in the first layer (print facing egg)
Then wrap a layer of plain fabric (I used some flannel and calico I had in the scrap fabric bag) and secure again with another band. Fill a saucepan with water and half a cup of vinegar (I didn’t measure, but would have used more than half a cup of white vinegar) and bring to the boil. Different directions state different cooking times, from 5 minutes to 20, I went with closer to 20 minutes. Then the exciting part!

Love the colours and patterns in this one.
Remove from the water and allow to cool. Remove fabric and discover what you have created! Don’t forget to blow out the water that may have ended up inside again if you used hollow eggs. Out of the 11 we made, 3 didn’t work at all. I can’t say for sure, but I think they were ‘fake 100% silk’ ties those ones!

Easter egg decorating
So, looks like we are having scrambled eggs and omelettes for dinner tonight.


")