I helped the kids in Mr 8s class make these at school, so thought we would give them a try at home. There is heaps of different recipes out there, so you can really make them any flavour you wants, but you want to choose a biscuit that doesn’t rise too much. We used a basic butter biscuit recipe.
- 125g butter, softened
- 1/2 cup caster sugar
- 1/2 teaspoon vanilla extract
- 1 egg, at room temperature
- 2 cups plain flour
- 1/2 teaspoon of baking soda.
I also added a sprinkle of cinnamon and all spice. I probably don’t need to tell you how to make biscuits. To be honest, they rose a little more than I would have liked, so might use a different recipe next time. The recipe also started with the usual ‘pre-heat oven’, but after mixing the ingredients you had to put the dough into the fridge for 45 minutes. What a waste of electricity having your oven running all that time?

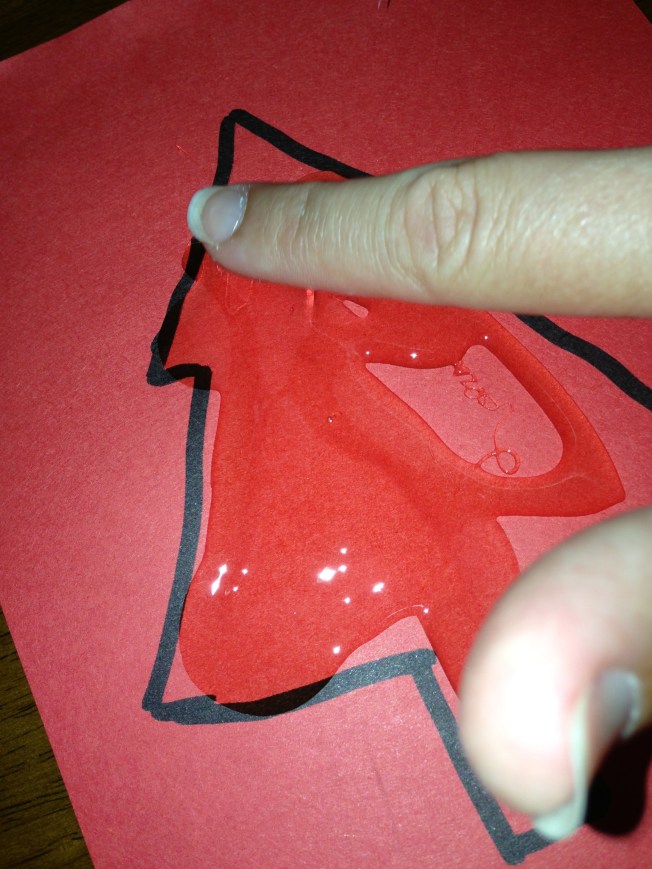
Use any shapes you like, then a smaller shape inside. Pop a hard lolly (boiled lolly or jolly rancher etc) into the centre and bake on some baking paper at around 180 for only a few minutes. The lolly will melt in the time it takes to cook the biscuit. So simple.

If you live in an area of the world that is humid, these wont last long on the tree. So just eat them!
-

- Ingredients
-

- Mr 7 rolling the dough
-

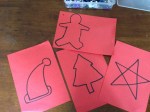
- Cutting out the shapes
-

- Place on baking paper and add lolly to centre.
-

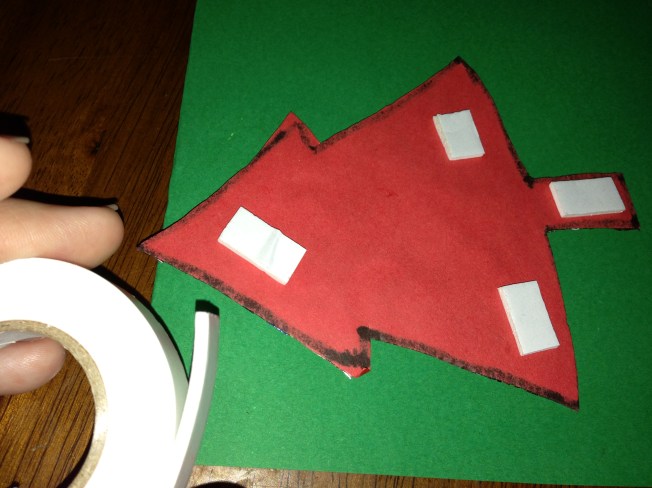
- Poke a small hole in the edges if you’d like to be able to hang them on the tree.
-

- Bake
-

- Allow to cool
-

- The cookies
-

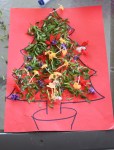
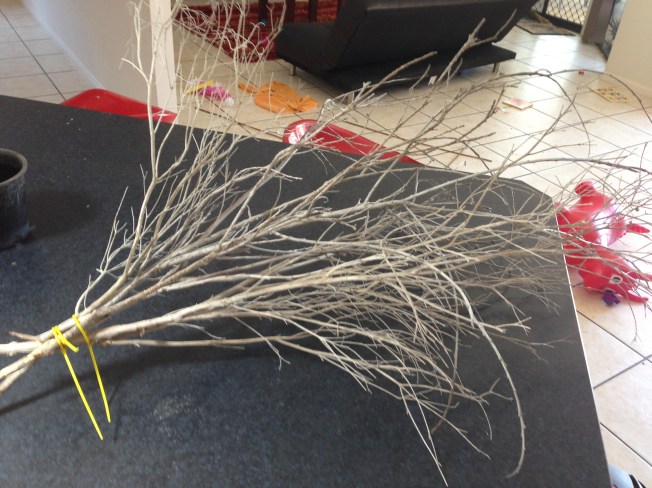
- On DDs stick tree
-
- Cookie ornaments
-

- The left over gingerbread men
-
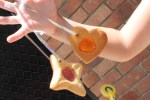
- In the light
-
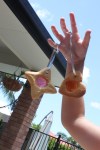
- Trying to catch the sun.