Unlike most of our projects, where I get inspired by Pinterest or something else, I actually thought this up myself!

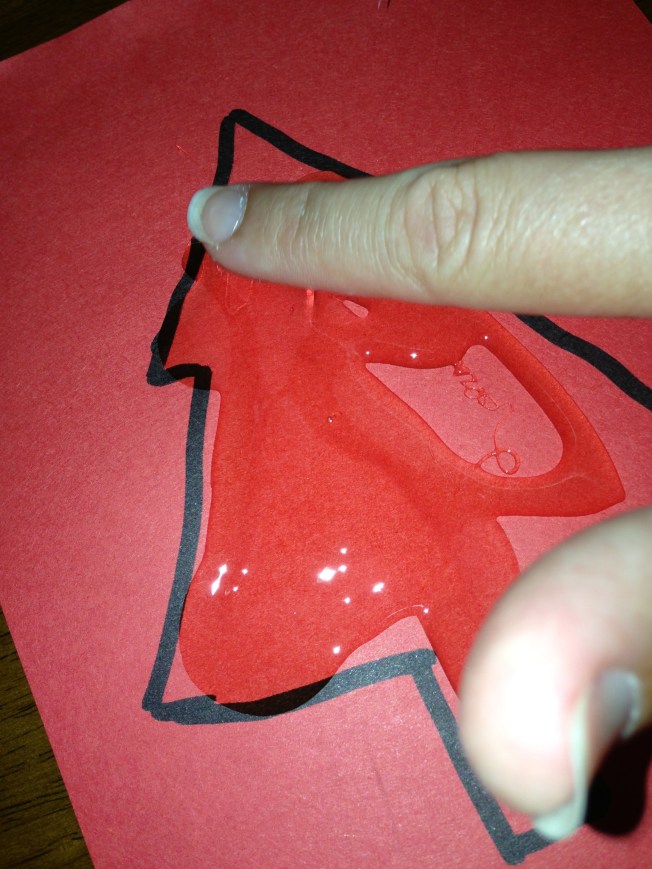
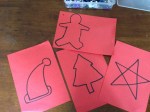
Really easy messy fun for all ages. Just take some coloured paper and draw some simple Christmas shapes. If drawing is not your thing, trace around some cookie cutters.

Cover inside the outline with a thick layer of craft glue. Smear around with a paintbrush or a finger tip if you don’t mind getting sticky.
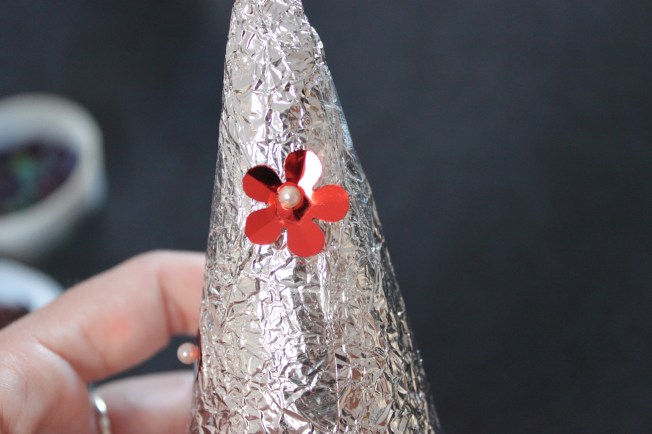
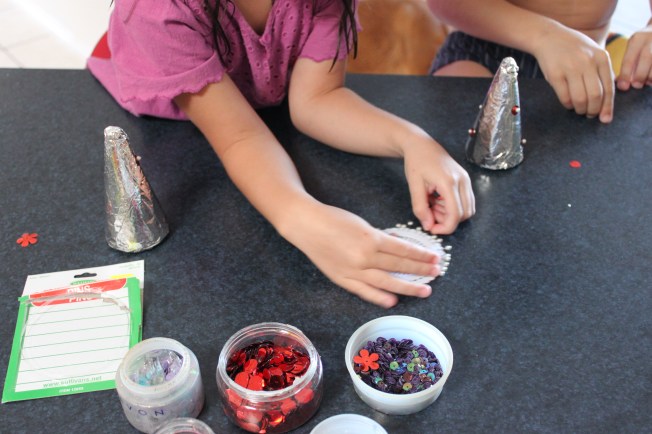
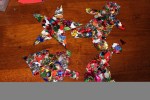
Then sprinkle christmas theme sequins randomly over the glued area. Try to cover the outline as much as possible too.

When you can’t see much of the paper within the shape, give it a light shake. Then drizzle some more glue over the top to hold down any loose ones.

Allow to dry. We left them for 24 hours.

Once dry, Use some large sharp scissors, cut around the shape. If you can’t see the outline on the front, just follow the lines that went through the page as demonstrated above.
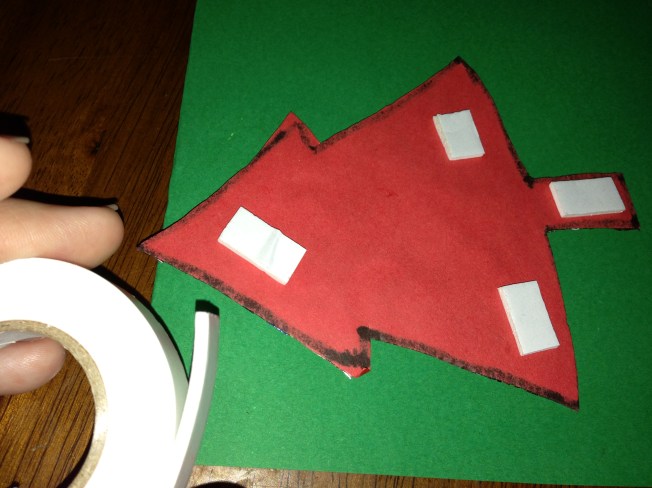
Once the shapes are cut out, we added some double sided mounting tape (commonly used for scrap booking) to give them a slightly more 3D effect on the card, but you could just use standard double sided tape or glue.

Position on the cards as you please, and there you have it. Sparkly Christmas cards. Mini ones of these would also make cute Gift Tags. Just line the other side with another piece of paper to write on and use a hole punch to make somewhere to secure with ribbon.

-
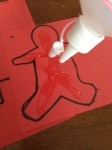
- Cover with a thick layer of glue
-

- spread glue around
-

- Sprinkle heavily with sequins
-

- Covering with sequins
-

- Drizzle another thin layer of glue all over
-

- Allow to dry thoroughly.
-

- Once dry, cut out the shape
-

- Cutting out the shape
-
- The cut out shapes.
-

- Mounting tape.
-
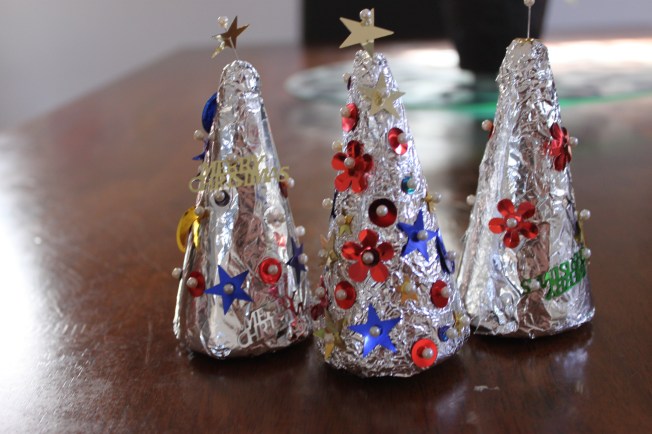
- Finished product
-
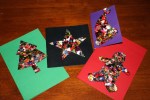
- Finished cards,
-

- Hanging up.